5-Minute Watercolor Tricks for Stunning Results
Watercolor painting is a wonderfully relaxing and expressive art form, loved for its fluidity and the vibrant effects it can create. But if you’re new to it, watercolor can feel a bit intimidating—especially when you want impressive results without spending hours on a single piece.
The good news? You don’t need to be a professional or have endless time to make stunning watercolor art. With a few quick tricks, you can add depth, texture, and flair to your work in just minutes.
In this guide, I’ll share five easy, time-saving watercolor techniques that deliver eye-catching results. Whether you’re a beginner or simply short on time, these tips will help you make the most of your watercolor practice.
Setting Up for Success in Minutes
Getting started with watercolor doesn’t have to be complicated. A few simple setup choices can make a big difference in how your painting turns out—and how quickly you can get those impressive results. By focusing on the right tools and a bit of prep, you’ll set yourself up for success from the very first brushstroke.
Quick Tip #1: Choosing the Right Tools for your Watercolor Art
Your choice of paper, brushes, and pigments can make or break a watercolor painting, especially when you’re short on time. Here’s why each of these matters:
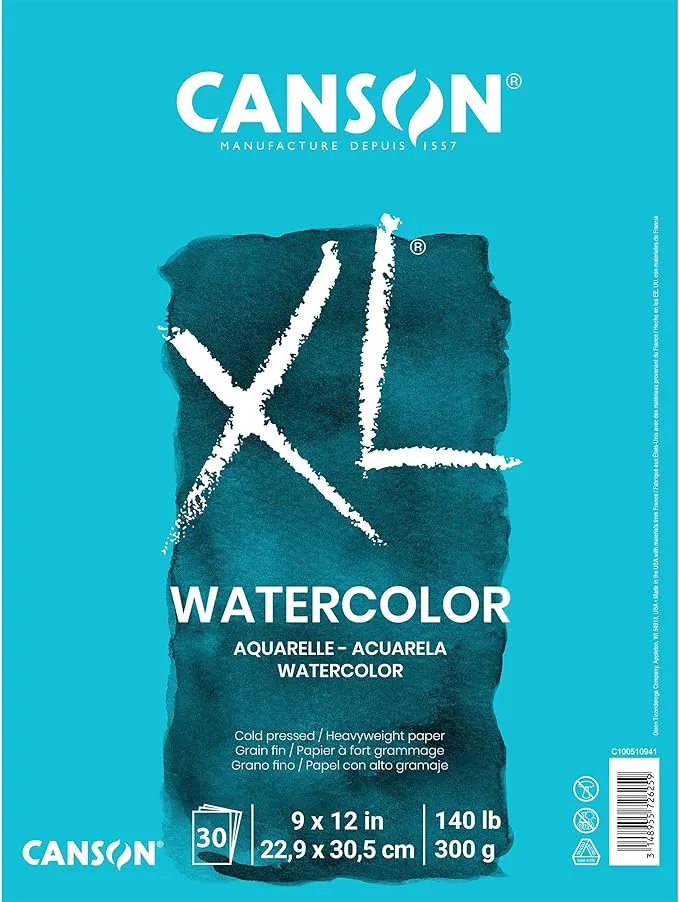
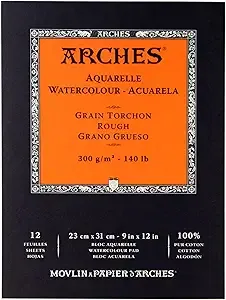
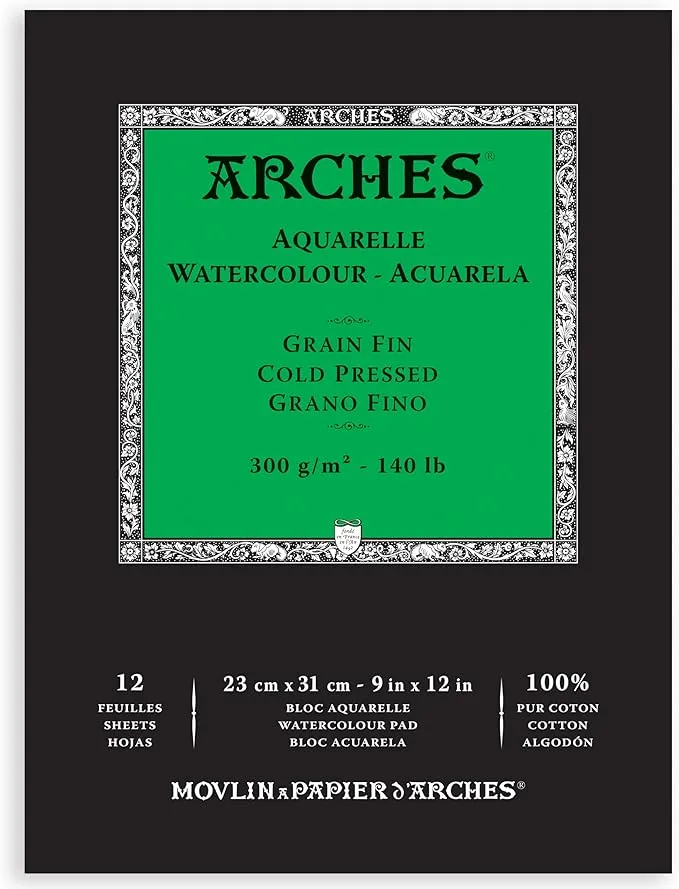
Paper: High-quality watercolor paper absorbs pigment better, which helps you create vibrant colors and smooth blends. Look for at least 140 lb (300 gsm) weight to prevent buckling and get the best results.
These are some of my favorites:
If you want to learn more on this subject, I strongly recommend that you read Understanding Watercolor Paper: How to Choose the Right Type for Your Art.
Brushes: Invest in a few good brushes—round brushes for detail and washes, and a flat brush for larger areas. Quality brushes hold water better and allow for smoother, controlled strokes, helping you paint more efficiently. Princeton offer great sets for starters, like the Aqua Elite.
You can read more about paper on this post: The Ultimate Guide to Watercolor Brushes: Shapes, Sizes, and Uses
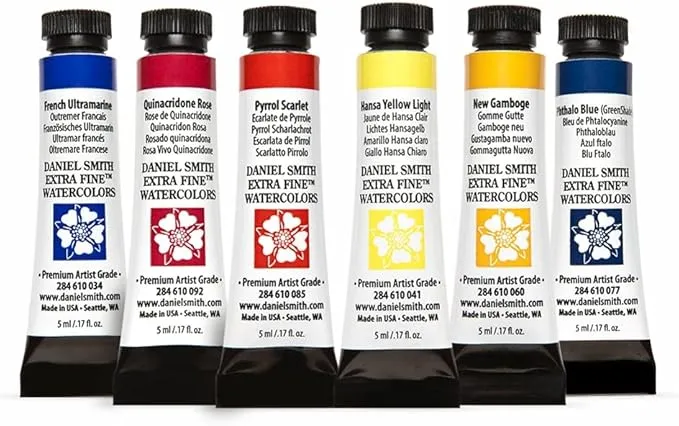
Pigments: Use artist-grade watercolor paints for richer colors that need fewer layers. This not only saves time but also ensures your colors stay bright and clear. If you are just starting and need to find more accessible options, you can go for the student lines. If you are looking for quality, but don’t want to spend lots on different pigments, Daniel Smith’s basic set is a great option!
If you want to know more, read also: Top 10 Must-Have Watercolor Supplies for Beginners.
Quick Tip #2: Pre-Mixing Colors
One of the simplest ways to save time is to pre-mix your colors before you start painting. By setting up a limited palette with a few core colors, you’ll maintain a consistent look throughout your artwork and avoid constant color mixing.
To get started, choose a few colors that work well together and mix different shades and tints in a palette or a mixing tray. This way, when you’re ready to paint, you can dip straight in without interrupting your flow. Pre-mixing also prevents muddy colors, making it easier to keep your work looking fresh and vibrant.
These quick setup steps ensure you’re not just painting but painting effectively—setting you up for a smoother, more enjoyable watercolor experience. If you are afraid of muddy coloring, this guide should help you: Avoiding Muddy Colors: How to Keep Your Watercolors Vibrant and Fresh.
Basic Techniques to Improve Results Quickly
Mastering a few basic techniques can drastically improve your watercolor results in no time. These methods are easy to learn and make blending and texture feel almost effortless. With wet-on-wet backgrounds and a dry brush for texture, you’ll quickly see more depth and interest in your paintings.
Quick Trick #3: Wet-on-Wet Backgrounds
The wet-on-wet technique is perfect for creating soft, dreamy backgrounds and smooth gradients. Start by applying a light wash of clean water across the area where you want a blended effect, like a sky or a body of water. Then, while the paper is still wet, add touches of color. The pigments will naturally flow and blend together, creating soft transitions without any harsh lines.
This technique is especially useful for painting simple skies with gentle color shifts or adding a soft reflection effect in water scenes. By letting the water do most of the blending, you’ll achieve a smooth look in just minutes, without needing to layer or overwork the paint.
Quick Trick #4: Dry Brush Technique for Texture
For a quick way to add texture and detail, try using a dry brush technique. With this method, you’ll use a barely wet brush to apply paint, allowing the natural texture of the paper to show through. This effect is perfect for rough or textured surfaces like grass, fur, or stone.
To create this look, dab most of the water off your brush and lightly sweep it across the paper. The dry brush leaves behind uneven streaks, which mimic natural textures with minimal effort. This trick is a fast, simple way to add detail without needing to get bogged down in fine brushwork, giving your painting an extra layer of interest.
With these two techniques, you can add both softness and texture to your watercolor art in just a few strokes, helping your work feel more polished and dynamic.
Adding Depth and Dimension in Minimal Time
Adding depth and dimension doesn’t have to take hours. With just a few simple techniques, you can quickly make your watercolor paintings look richer and more dynamic. Layering with glazes and adding contrast in key areas are effective ways to bring your work to life, even when you’re on a time crunch.
Quick Trick #5: Layering with Glazes
One of the easiest ways to build depth in watercolor is through layering, or “glazing.” This technique involves applying a light wash of color over a dried layer to add subtle shadows and enhance dimension. Start with a base color, let it dry completely, then add a diluted wash of a similar or slightly darker color over specific areas where you want more depth.
For instance, if you’re painting leaves, a light glaze of green over shaded areas will make the foliage appear fuller and more three-dimensional. Glazing is a quick trick to create depth without heavy detailing, as each layer adds a new level of complexity to your painting.
Quick Trick #6: Using Contrast for Instant Pop
Adding a touch of dark pigment in strategic areas can instantly enhance the focal point of your painting. Dark colors like indigo, sepia, or even a deep purple are perfect for creating contrast. By placing small amounts of these darker shades around your subject’s edges or within shadows, you draw the viewer’s eye to specific areas, making your artwork feel more balanced and visually striking.
For example, adding a touch of indigo to the base of a flower or the corner of a landscape gives the painting an instant “pop” that highlights details and adds dimension. It’s a simple way to create a sense of depth and emphasize focal points without overworking the piece.
With these two quick tricks, you can easily add both depth and focus, giving your watercolor art a professional look in a fraction of the time.
Finishing Touches for a Professional Look
The right finishing touches can make a huge difference in bringing your watercolor piece to life. Adding highlights and using splatter techniques are simple yet effective ways to give your painting a polished, professional look. These tricks are quick and easy, helping you add character and depth without overworking your art.
Quick Trick #7: Adding Highlights with a Gel Pen or Gouache
One of the simplest ways to add highlights is by using a white gel pen or a bit of white gouache paint. These tools allow you to create bright, crisp accents that bring out details and make your artwork stand out. For instance, you can add a touch of white to the edges of petals, the glint in an eye, or the sparkle on water. This extra layer of contrast instantly gives your painting more dimension and a finished, refined appearance.
To do this, wait until your painting is completely dry, then apply small highlights where light would naturally hit. The white contrasts with the surrounding colors, adding a polished finish that makes your painting feel complete.
Quick Trick #8: Splatters for a Dynamic Effect
If you want to add a bit of spontaneity and energy to your painting, try using a splatter technique. Dip a brush into a fairly wet mixture of paint, then lightly tap or flick it over your artwork to create small, random splashes of color. This effect works especially well for creating textured backgrounds, adding depth to landscapes, or adding an abstract touch to any piece.
Splatters give your painting a sense of movement and liveliness, making it feel less controlled and more expressive. For the best results, choose a color that complements the rest of your painting, and use it sparingly to avoid overwhelming the piece.
These final touches help bring your watercolor art to a new level, adding contrast, energy, and a bit of polish. With just a few extra minutes, you can achieve a finished look that’s both professional and eye-catching.
Bringing It All Together
Creating beautiful watercolor art doesn’t have to be a lengthy process. With a few well-chosen techniques—like wet-on-wet backgrounds, dry brushing for texture, glazing for depth, and simple finishing touches—you can achieve eye-catching results in just minutes. These tricks make it easy to add dimension, contrast, and polish, helping you get the most out of your painting time.
So, don’t hesitate to experiment with these methods! As you practice, you’ll gain confidence and start seeing impressive results faster than you might expect. And once you’re comfortable with these basics, consider exploring more advanced techniques to keep building your skills and refining your style.