Speedy Watercolor Textures: Adding Depth in Minutes
Watercolor textures bring a unique, expressive quality to art, adding layers of depth and softness that are hard to replicate. Their organic patterns and subtle color blends can instantly transform a simple piece into something dynamic and full of life. However, achieving these effects can often feel time-consuming or tricky, especially for beginners or those working on tight schedules.
That’s where speedy watercolor techniques come in. By mastering a few simple methods, you can add depth, texture, and dimension in just minutes. These techniques allow you to create intricate, eye-catching textures without waiting hours for each layer to dry or overthinking every stroke.
In this article, we’ll dive into easy, time-saving approaches to create beautiful watercolor textures. Whether you’re a seasoned artist or just starting out, these tips will help you capture the richness of watercolor quickly—making it perfect for adding depth on the go!
Understanding Watercolor Textures
Watercolor textures are like the secret ingredient in art—subtle yet transformative. They bring an unpredictable beauty to any piece, with colors blending and spreading in ways that feel organic and alive. But why are watercolor textures so popular, and how do they create that sought-after depth in artwork? Let’s dive in and explore how watercolor textures add dimension to art, whether you’re working with a traditional brush, a digital stylus, or combining media.
What Are Watercolor Textures?
Watercolor textures are the natural patterns, blends, and variations that appear when watercolor paint interacts with paper or other surfaces. These textures can be soft and subtle or bold and dynamic, depending on the techniques and tools you use. Here’s why they’re so loved in art:
- Unpredictability: Each brushstroke or wash creates unique results, adding a one-of-a-kind quality to each piece.
- Natural Flow: Watercolor spreads organically, creating gradients and soft edges that feel fluid and natural.
- Versatility: They work well across many styles—from abstract backgrounds to detailed landscapes and everything in between.
Understanding Depth in Art and How Textures Create It
In art, “depth” is the illusion of three-dimensional space within a two-dimensional medium. Depth can make a flat piece of paper feel expansive and layered, drawing viewers in. Watercolor textures help achieve this effect in a few key ways:
- Layering: By layering lighter and darker washes, you can create the impression of distance and dimension.
- Gradient and Value Shifts: Soft transitions in color and light create a sense of depth, leading the eye across the painting.
- Texture Variation: Different textures (smooth, rough, granulated) add visual interest and make some areas pop forward while others recede.
Benefits of Watercolor Textures in Different Mediums
Watercolor textures bring unique advantages to traditional and mixed media art. Here’s a quick look at how they enhance each:
- Traditional Art:
- Adds authenticity and a handcrafted feel.
- Perfect for creating soft backgrounds, atmospheric landscapes, and delicate floral designs.
- Easily customizable with simple tools like brushes, water, and paper textures.
- Mixed Media:
- Combines the organic feel of watercolor with the precision of other mediums like ink, colored pencils, or markers.
- Ideal for collage, art journaling, and experimental pieces that thrive on layered textures.
- Allows for creative freedom in building layers that play off one another for unique effects.
Watercolor textures are a simple yet effective way to add life, depth, and dimension to any art form. Once you get a feel for how they work, the possibilities are endless!
Essential Tools and Supplies for Quick Watercolor Textures
Creating beautiful watercolor textures doesn’t have to be complicated or require an arsenal of supplies. With a few essential tools, you can get great results without a big investment or time commitment. Let’s look at some recommended basics and a few time-saving tools to help you create textures quickly and easily.
Recommended Watercolor Supplies for Quick Textures
Whether you’re new to watercolor or just need to streamline your process, these essentials will help you create vibrant textures with minimal fuss:
- Watercolor Paints:
- Pan Sets: Great for beginners and easy to use on the go. They’re ready to use with a bit of water and don’t require extra mixing.
- Tube Paints: Provide richer, more intense colors. Perfect for those looking for bolder textures and more control over pigment density.
- Liquid Watercolors: Fast-drying and highly pigmented, making them ideal for layering quickly.
- Brushes:
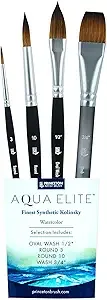
- Round Brushes (sizes 4, 6, 10): Versatile for washes and detail work, creating organic, flowing textures.
- Fan Brushes: Excellent for quick, textured effects like grass, foliage, or soft clouds.
- Flat Brushes (1/2 inch or larger): Great for broader, sweeping textures, ideal for background washes.
- Natural Hair Brushes: Soft bristles hold more water, helping to create smooth, blended textures.
- This brush set by Princeton Aqua Elite is very versatile for starters.
- Paper Types:
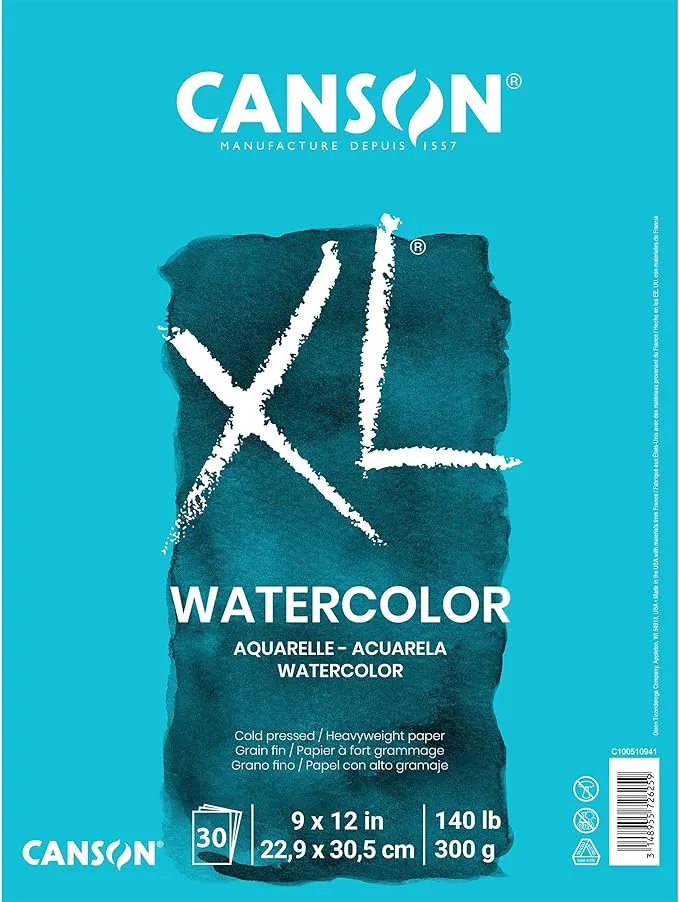
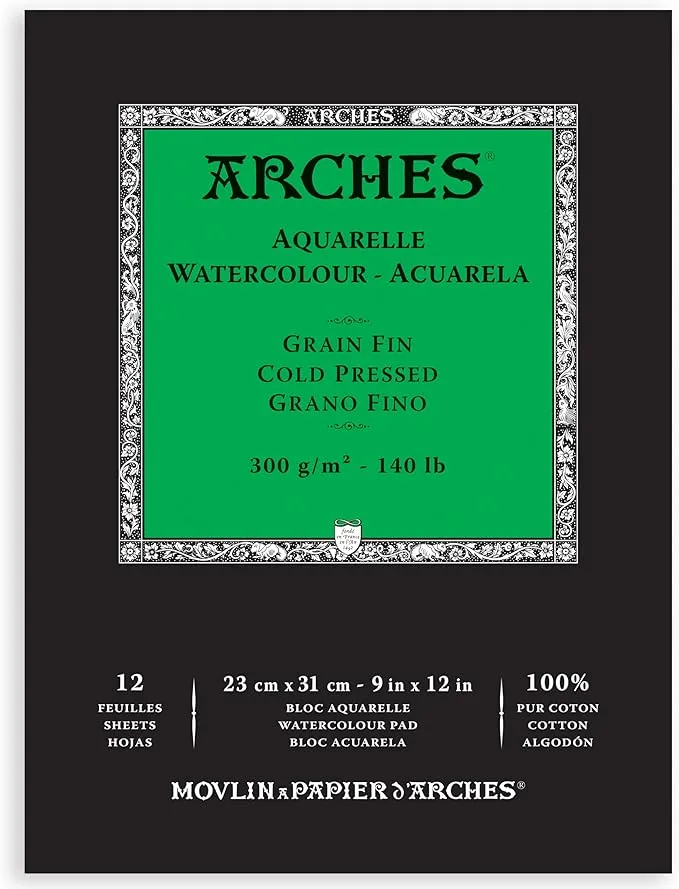
- Cold-Pressed Paper (140 lb): Medium texture that’s ideal for absorbing water while maintaining some tooth for texture.
- Hot-Pressed Paper: Smooth surface, allowing for fine details and softer, lighter washes without much grain.
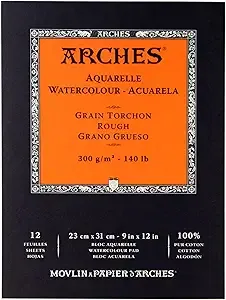
- Rough Paper: Adds an extra layer of texture naturally and works well for expressive, textured watercolor pieces.
Time-Saving Tools for Quick Texture Effects
If you want to create textures without spending too much time on each layer, here are a few tools that can help speed up the process:
- Pre-Wetted Palettes: Keep your watercolor pans pre-moistened for easier blending and quicker access to vibrant colors. A small spray bottle can help keep your colors damp and ready to go.
- Water Brushes: These brushes have a built-in water reservoir, making it easy to adjust water flow for quick and controlled textures without needing a water jar.
- Texture Sponges: Natural or synthetic sponges are fantastic for creating random, textured effects like foliage, clouds, or rocky textures. Simply dip in paint and dab directly onto the paper.
- Salt and Alcohol Droppers: Salt can create organic, crystallized textures, while a few drops of rubbing alcohol can add fascinating effects, like blossoming patterns or soft, irregular textures.
- Masking Fluid: Use this to reserve certain areas of your paper, creating interesting contrasts and depth with minimal effort. Try Molotow Masking Pen – easier to use and more portable.
With these tools and supplies, creating stunning watercolor textures becomes a quick and enjoyable part of your art process. Each tool allows you to experiment, so have fun trying different combinations to find the textures you love!
Techniques for Speedy Watercolor Textures
Now that we’ve covered the essential tools, let’s dive into some quick techniques that bring watercolor textures to life. These methods don’t require hours of work or drying time—just a bit of creativity and a few simple steps. Each technique has its own unique effect, perfect for adding depth and visual interest in minutes!
1. Wet-on-Wet Technique
This classic watercolor technique is ideal for creating soft, flowing textures that blend seamlessly. It’s perfect for backgrounds, skies, and areas where you want smooth transitions.
- How to Do It: Start by wetting your paper lightly with a clean brush or a spray bottle. Then, add your watercolor paint to the damp area, letting it spread naturally. You can add more colors for blending effects—watch how the pigments flow and mix!
- Quick Tips:
- Use more water for softer, more blended edges.
- For a dramatic effect, add a few drops of concentrated paint in different areas and let them bleed together.
2. Salt Technique
This fun, easy technique creates beautiful, crystal-like textures with minimal effort. It’s great for adding texture to backgrounds, landscapes, or areas that need an organic touch.
- How to Do It: While your paint is still wet, sprinkle a small amount of table salt over the painted area. As the paint dries, the salt absorbs moisture, creating tiny starburst-like patterns.
- Quick Tips:
- Coarse salt works best for larger patterns, while fine salt produces subtler effects.
- Wait until the paint is completely dry before brushing off the salt to avoid smudging.
3. Plastic Wrap Method
The plastic wrap technique is fantastic for creating abstract, geometric textures with an unpredictable, dynamic look. It’s ideal for abstract art, backgrounds, or even rocks and crystal-like textures in landscapes.
- How to Do It: Apply a wet layer of watercolor on your paper, then place a piece of crinkled plastic wrap over it. Press down lightly to create folds and ridges in the plastic. Let it sit until the paint is dry, then carefully remove the plastic wrap to reveal unique textures.
- Quick Tips:
- Experiment with different levels of crinkling for varied effects.
- This technique works best on thicker paper that can handle extra moisture.
4. Dry Brush Technique
The dry brush technique is all about creating rough, grainy textures that add an expressive touch. It’s excellent for adding texture to foreground elements, such as tree bark, sand, or grasses.
- How to Do It: Dip your brush lightly in paint, then blot it on a paper towel until it’s nearly dry. With minimal water, drag the brush across the paper, allowing the bristles to create a scratchy, textured look.
- Quick Tips:
- Use a coarse brush for more pronounced textures.
- Experiment with different brush angles and pressure to vary the effect.
Each of these techniques offers a unique way to add depth, texture, and a bit of magic to your watercolor work. Play around, mix and match methods, and watch your artwork come to life with beautiful textures in just minutes!
Tips for Adding Depth in Minutes
Creating depth in watercolor doesn’t have to be a long, drawn-out process. With a few smart techniques, you can add layers and dimension quickly, making your artwork look dynamic and engaging. Here are some easy-to-apply tips for adding depth in just minutes!
1. Layering Light Washes
Adding layers is a tried-and-true method for creating depth, but traditional layering can take time as each wash dries. Here’s how to speed it up:
- Quick Technique: Start with a light wash as your base layer, and while it’s still damp but not fully wet, add another layer in areas where you want more shadow or dimension. This method, often called “wet-on-damp,” speeds up drying and allows for smoother transitions.
- Tips for Success:
- Use a hairdryer on a low setting to quickly dry layers between washes.
- Stick to light, diluted washes in the early stages; you can always darken areas later for more depth.
2. Creating Depth with Gradients
Gradients are a fantastic way to make an area of your painting look like it’s receding or coming forward. By gradually lightening or darkening a color, you can create a sense of distance in seconds.
- Quick Technique: Start with a concentrated color at the area where you want more focus or depth, and quickly dilute your brush with water as you move outward. This creates a smooth gradient that naturally leads the eye into or out of the focal point.
- Tips for Success:
- Practice creating gradients from dark to light with a single color to get the hang of it.
- For landscape scenes, try a gradient from dark at the bottom to lighter at the top to mimic atmospheric perspective, where things look lighter and less detailed as they recede.
3. Experimenting with Color Contrast and Saturation
Contrasts in color and saturation are powerful tools for adding visual depth and directing the viewer’s attention.
- Quick Technique: Use highly saturated colors in foreground areas or focal points and more diluted, desaturated colors in the background. This contrast in saturation will create a natural sense of depth and make certain areas stand out.
- Tips for Success:
- For a bolder effect, use complementary colors in nearby areas to make both colors pop. For instance, pair a bright green against a desaturated red-brown for visual depth.
- Pay attention to warm and cool colors: warm colors (like reds and yellows) tend to come forward, while cool colors (like blues and greens) recede, enhancing the depth effect.
Practical Applications for Speedy Watercolor Textures
Watercolor textures aren’t just about technique—they’re versatile tools that can transform various types of artwork, from traditional paintings to dynamic mixed media projects. Here’s how you can put speedy watercolor textures to work in different creative applications, adding depth and interest with minimal effort.
1. In Painting: Quick Backgrounds and Enhanced Landscape Elements
Watercolor textures are a fantastic way to create interesting, layered backgrounds or enhance natural elements within a scene. With these quick techniques, you can add atmosphere, depth, and richness to landscapes or abstract backgrounds in minutes.
- Quick Backgrounds: Use the wet-on-wet technique to create soft, blended backgrounds with minimal brushwork. This is ideal for skies, water, or abstract washes that set the tone without distracting from the main subject.
- Enhanced Landscapes: Incorporate techniques like salt for textured skies or plastic wrap for rocky surfaces. These methods are perfect for creating natural textures that enhance elements like mountains, forests, or beach scenes.
- Layered Depth: Apply light washes for distant elements and gradually add darker, more detailed layers for foreground areas. This layering will create an illusion of space and depth with minimal drying time between layers.
2. In Mixed Media Projects: Combining Watercolor Textures with Other Mediums
Mixed media projects thrive on texture, and watercolor is a perfect base layer that can be combined with various other materials. The flexibility of watercolor textures allows them to play well with ink, pastels, markers, and more.
- Watercolor and Ink: Use watercolor washes as a base, then layer ink over it for sharp outlines, delicate details, or added contrast. For instance, create a loose, textured watercolor background and overlay it with ink drawings for a bold, dynamic effect.
- Watercolor and Pastels: Add soft pastels over dry watercolor textures for a dreamy, blended effect. The roughness of the pastels contrasts beautifully with the softness of watercolor, making it ideal for floral elements, abstract work, or portrait backgrounds.
- Watercolor and Markers: Watercolor textures provide a vibrant, organic base, while markers add crispness and clarity. This combo is great for art journaling, hand lettering, or even illustrating complex scenes where markers add precise detail on top of textured watercolor backgrounds.
By using watercolor textures in these practical ways, you can elevate your artwork across multiple styles and mediums. Whether you’re adding atmosphere to a painting or layering textures in a mixed media project, these speedy watercolor techniques give you the flexibility to explore and experiment with ease!
Common Mistakes to Avoid
While watercolor is a flexible and forgiving medium, there are a few common pitfalls that can hinder the vibrant, airy quality that makes it so appealing. Here are some mistakes to watch out for and tips on how to avoid them so you can keep your textures fresh, balanced, and beautiful.
1. Overworking Layers and Losing the “Fresh” Watercolor Look
One of the main appeals of watercolor is its fresh, spontaneous appearance. However, going over the same area too many times can muddy colors and make your painting look heavy and overdone.
- What to Avoid: Constantly layering over the same section, trying to “fix” areas or add more detail after the first wash.
- How to Fix It: Keep your initial washes light and add details sparingly. If an area doesn’t turn out as planned, let it dry and consider reworking it with a new layer, but try not to fuss with it while it’s still wet.
2. Not Accounting for Drying Time, Leading to Unintended Blending
Watercolor can bleed and blend unpredictably if you paint over areas that are still wet. While blending can sometimes be desirable, not allowing layers to dry can result in unplanned smudges or unintended mixes of color.
- What to Avoid: Adding paint on areas that haven’t fully dried, especially if you want crisp edges or defined lines.
- How to Fix It: Use a hairdryer to speed up drying time between layers, or focus on working in different sections while other areas dry. This keeps your colors sharp and prevents them from merging where you don’t want them to.
3. Using Too Much Water, Resulting in Uneven Textures
While water is essential in watercolor, too much of it can cause colors to pool, create blotchy textures, or make your paper buckle, leading to uneven and uncontrolled textures.
- What to Avoid: Overloading your brush with water or applying very wet washes on lightweight paper.
- How to Fix It: Use a lightly damp brush to control water flow and experiment with different brushes and papers to see how they handle water. Thicker paper (like 140 lb cold-pressed) can handle more water, so try different weights if you’re aiming for wetter techniques.
Avoiding these common mistakes will help you maintain the vibrant, fresh quality that makes watercolor so special. With a few mindful adjustments, you can bring out the best in your textures and create beautiful, dynamic artwork with confidence!
Unlocking Depth in Minutes: Your Watercolor Journey Begins
Speedy watercolor textures offer an easy, effective way to bring depth and dimension to any piece of art. With just a few techniques, you can create rich, layered effects that add life and atmosphere in no time. Whether you’re adding a quick background wash, experimenting with textures, or building depth with subtle gradients, these methods make it possible to transform your artwork without the wait.
As you explore these techniques, remember that every brushstroke is a chance to develop your own unique style. Don’t be afraid to play around, try new combinations, and embrace the unexpected—watercolor’s beauty often lies in its unpredictability.
Ultimately, art is a journey of exploration, and these quick techniques invite you to dive deeper and discover new creative possibilities. With a little practice and experimentation, you’ll be unlocking creative depth in just minutes!
