Layering in Watercolor: Quick Tips for Richer Colors
Layering in watercolor is a simple yet powerful technique that can transform your artwork. By adding multiple translucent layers of paint, you can build depth, create richer colors, and bring a sense of life and movement to your piece. Unlike other methods, layering lets you gradually intensify colors without losing the delicate qualities that make watercolor so unique.
This technique isn’t just for advanced artists; it’s accessible to beginners too. With just a few mindful steps, anyone can start layering to achieve more vibrant, complex effects. In this guide, we’ll dive into quick, easy tips to help you master layering and unlock the full potential of your watercolors.
Understanding Layering in Watercolor
Layering in watercolor is all about building up color gradually. Rather than applying a single, bold wash, layering uses multiple translucent applications of paint to create depth, subtle color shifts, and a more intricate, finished look. Let’s break down what makes layering such a valuable technique for watercolor artists.
What is Layering in Watercolor?
- Gradual Color Build-Up: Layering involves applying one light wash of color over another. Each layer is transparent, so you can build color depth gradually.
- Translucent Washes: The beauty of watercolor lies in its transparency. When you layer, the colors beneath still show through, allowing for a glowing, almost luminous effect that gives watercolor its distinctive charm.
Why Layering is Essential in Watercolor
- Dimensionality: Layering allows you to create shadows, highlights, and mid-tones without having to rely on harsh lines or opaque applications.
- Enhanced Color Complexity: Unlike single applications, where color may look flat or simple, layering blends hues in subtle ways, allowing for a mix of tones that adds richness and complexity.
- Control and Flexibility: By building color gradually, you have more control over the final look, making it easier to adjust and perfect your colors as you go.
Essential Supplies for Effective Layering
Layering in watercolor requires the right tools to achieve the best results. While watercolor is a versatile medium, the quality of your supplies can significantly impact how your layers look and feel. Here’s a quick guide to choosing the essential supplies that will make layering easier and more effective.
Choosing the Right Paper
When it comes to watercolor, not just any paper will do. Watercolor paper is specifically designed to absorb water without warping or buckling, and there are a few types to consider:
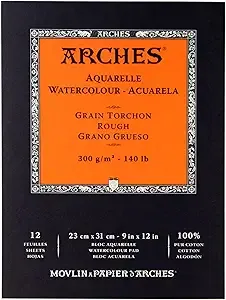
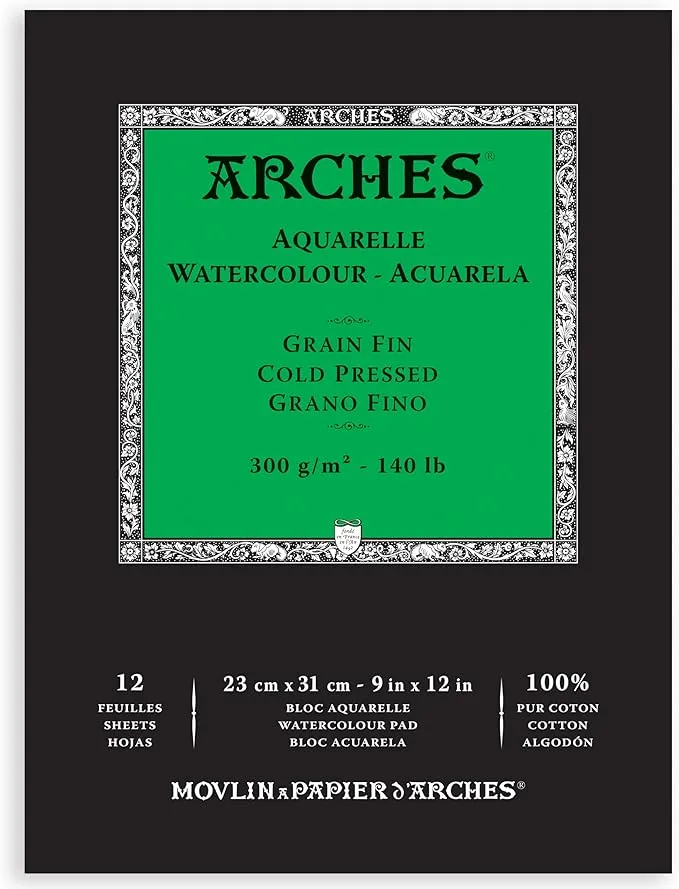
- Cold-Press Paper: This type has a textured surface, which helps hold layers of paint. The texture can add a beautiful, slightly grainy effect that works well for landscapes and natural textures.
- Hot-Press Paper: This option has a smooth surface, ideal for detailed work and fine lines. While it absorbs paint differently, it can still handle multiple layers if it’s thick enough.
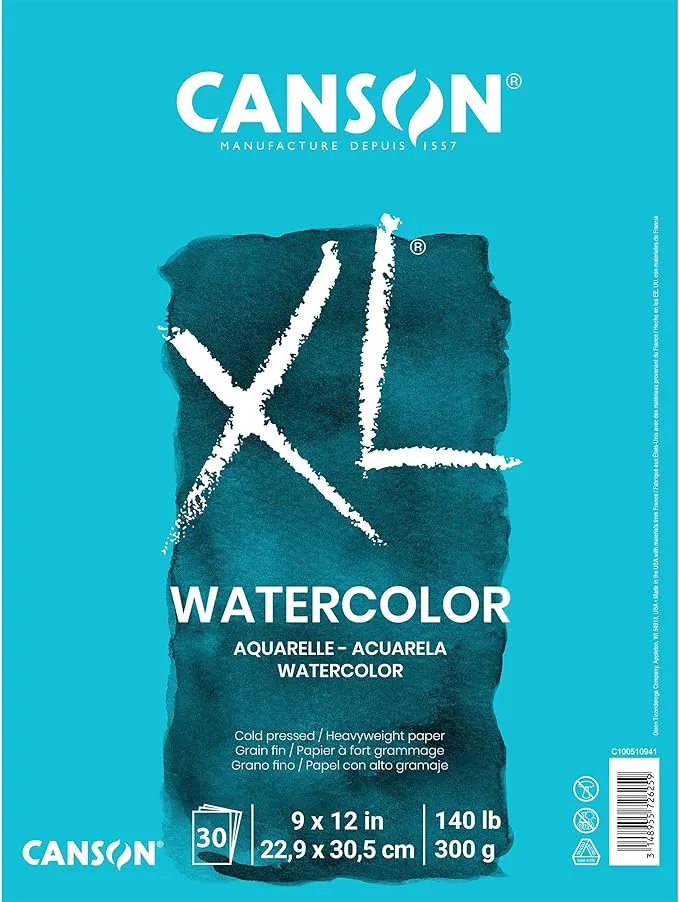
For effective layering, aim for a thicker, high-quality paper (typically 140 lb or higher). Thicker paper can absorb more water and pigment, making it more resilient for multiple washes and allowing you to build color without damaging the surface.
Watercolor Paint Types and Pigment Quality
The quality of your paint also plays a major role in layering:
- Artist-Grade vs. Student-Grade Paints: Artist-grade paints contain more pure pigment and less filler, which makes them more vibrant and transparent—perfect for layering. Student-grade paints may be less expensive but often have a lower pigment concentration, which can make colors appear duller and harder to build up.
- Pigment Transparency: For layering, transparent pigments are ideal because they allow the colors beneath to show through. Many paint sets will label pigments as transparent, semi-transparent, or opaque, so you can choose those best suited for layering effects.
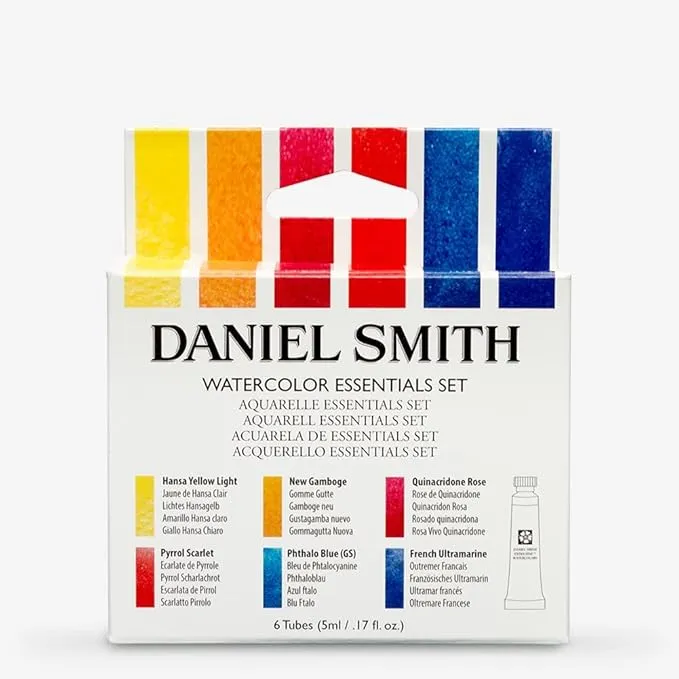
High-quality paints may cost a bit more, but they allow for richer, more luminous layers that can make a huge difference in the final result. If you want a good balance between quality and pricing, check Daniel Smith’s basic set.
Brushes that Work Best for Layering
Choosing the right brush will help you control water and pigment effectively as you layer:
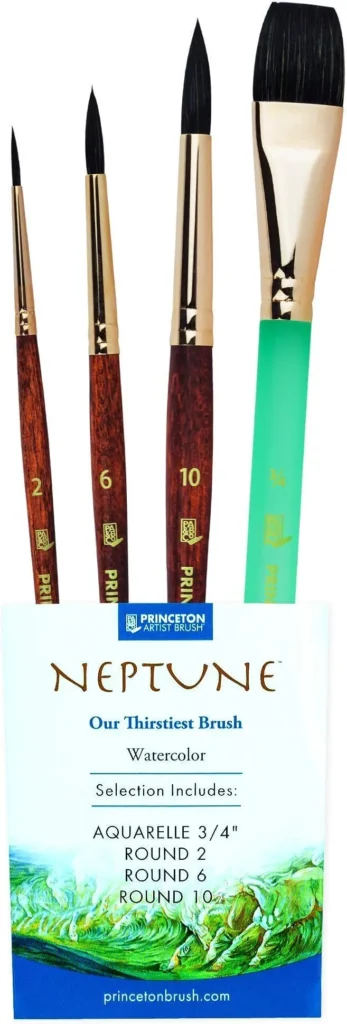
- Round Brushes: These are versatile and can hold a significant amount of water, making them great for both large washes and fine details.
- Mop Brushes: If you’re layering broader areas, mop brushes are excellent for holding a lot of water and paint. They allow you to create smooth, even washes over larger spaces.
- Synthetic vs. Natural Hair: Natural hair brushes, like sable, are highly absorbent and allow for smooth pigment release. However, high-quality synthetic brushes can also perform well, especially if you’re looking for a more affordable option.
The key is to select brushes that hold enough water and pigment, so you can smoothly layer without streaks or unwanted drying marks. A quality brush will also help you avoid disturbing previous layers as you add new ones.
By investing in the right paper, paints, and brushes, you’ll set yourself up for success in layering. With the right supplies, you’ll be able to explore more vibrant colors, smoother washes, and more complex effects in your watercolor art.
Quick Tips for Richer Colors through Layering
Layering can take your watercolor work to new levels of depth and color richness. By following these simple tips, you’ll be able to make the most out of each layer and achieve a vibrant, dimensional look in your artwork.
Tip 1: Start Light and Build Up Gradually
When layering, it’s best to start with the lightest tones and work your way up to the darker ones. This gradual buildup allows you to create depth without overwhelming the painting. Each lighter layer acts as a foundation, so when you add darker layers, they’ll sit on top and create a rich, multidimensional effect. Starting light also helps prevent harsh lines or colors that are too intense too soon, giving you more control as you build up vibrancy.
Tip 2: Let Each Layer Dry Completely
One of the most important parts of layering is patience! Allowing each layer to dry fully before adding the next prevents colors from mixing too much, which can lead to a muddy, dull effect. When each layer is dry, the color beneath won’t bleed into the new one, giving you more control over transparency and color intensity. You can use a hair dryer on a low setting if you’re short on time, but be mindful not to disturb the paint’s natural settling process.
Tip 3: Use Transparent Colors for Optimal Results
Transparent pigments are ideal for layering because they allow the colors beneath to show through, creating a glowing, stained-glass effect. Some popular transparent watercolors to try include:
- Phthalo Blue: A vibrant, transparent blue that layers beautifully.
- Quinacridone Rose: Known for its rich, jewel-toned pink, which stays vibrant even in multiple layers.
- Burnt Sienna: A warm, transparent brown that adds depth and warmth without overpowering other layers.
By choosing transparent pigments, you’ll enhance the luminosity of your colors, which is perfect for achieving that layered, rich watercolor look.
Tip 4: Control Water-to-Paint Ratio
Adjusting the water-to-paint ratio can give you fine control over each layer’s opacity. For more subtle layers, add more water to create a light wash. For bolder, more intense layers, use less water to bring out the pigment. This flexibility allows you to adjust the look of each layer as you go, creating everything from delicate, barely-there tones to rich, saturated areas. Learning to control this ratio is essential for nuanced layering effects.
Tip 5: Experiment with Glazing Techniques
Glazing is a specific layering technique where you apply a thin, translucent layer of color over a dry one to add depth and a glassy, luminous effect. By using glazing, you can add subtle shifts in color and tone, making certain areas pop or appear to recede. For example, try glazing a warm color over a cool one to add complexity, or layer a bright glaze over a darker shade to achieve more vibrancy. Glazing is an excellent technique to try for those looking to refine their color work and add a polished finish.
Using these tips, you can start layering with confidence, bringing out the true depth and richness of watercolor. Experiment with different techniques and materials to see how each layer adds a unique quality to your art.
Common Mistakes to Avoid When Layering
Layering is a rewarding technique, but it comes with its challenges. Avoiding these common mistakes can help you maintain clean, vibrant layers and keep your painting looking fresh and dynamic.
Using Too Much Water
One of the most frequent issues with layering is using too much water. Excess water can cause unintended blending, where colors bleed into one another, creating muddy patches and uneven tones. It can also result in water pooling, which leaves uneven drying marks that disrupt the smooth look of layered washes. To avoid this, control the amount of water on your brush and use drier, more controlled strokes when you want clear, defined layers. A gentle blot on a paper towel can help remove excess water before applying the brush to your paper.
Over-layering
While layering is a powerful technique, too many layers can actually work against you. Over-layering can cause the colors to lose their vibrancy, making the painting look heavy, overworked, or even dull. Colors may begin to look flat or overly blended, reducing the depth and lightness that layering is meant to achieve. Aim to keep layering purposeful—adding just enough to build depth without overwhelming the composition. Sometimes, less is more when it comes to achieving a clean, luminous look.
Avoiding these common mistakes can help you make the most of your watercolor layering, resulting in vibrant, balanced pieces that showcase the unique beauty of the medium.
Practicing Layering: Easy Exercises
Mastering layering in watercolor takes practice, but you don’t need complex compositions to start. Here are some easy exercises that will help you develop your layering technique and understand how colors interact through layering.
Exercise 1: Painting Gradients with Layering
A simple gradient exercise is a fantastic way to get comfortable with layering. Start by applying a light wash of a single color across your paper, covering a small area. Let it dry completely, then add a second layer to only half of the original wash. Repeat this process, each time covering a smaller section, so that your gradient builds from light to dark. This will help you understand how layering impacts intensity and allows you to see the depth created by each added layer.
Exercise 2: Layering a Single Color in Different Opacities
Choose one color and create a series of swatches on your paper. For each swatch, adjust the water-to-paint ratio so that each layer becomes slightly more intense. Start with a very light wash, let it dry, and then add a slightly darker layer on top. Continue building up the color in gradual steps, paying attention to how each additional layer deepens the hue and changes the overall look. This exercise is great for practicing control and observing how the same color can take on different tonal qualities.
Exercise 3: Exploring Color Mixing with Layered Glazes
Take two transparent colors, such as yellow and blue, and paint overlapping squares or circles to practice layering with different colors. Start with one layer of yellow, let it dry, and then layer blue on top to create a green hue. Experiment with other color pairs to see how layering creates new shades and intensifies colors in unique ways. This exercise will give you a feel for glazing and help you learn how to use layered colors to enrich your paintings.
Encourage yourself to play around with these exercises, experimenting with different colors, opacities, and overlaps. Layering in watercolor is as much about discovery as it is about technique, so enjoy exploring how each layer can change the mood, depth, and vibrancy of your work.
Unleash the Full Potential of Your Watercolors
Layering is a simple yet transformative technique that adds richness, depth, and vibrancy to watercolor paintings. By starting with light washes, allowing each layer to dry, and experimenting with transparent pigments, you can build up complex colors that bring your artwork to life. The right tools and a few mindful practices can make all the difference, giving you control over each layer and helping you avoid common pitfalls.
The beauty of layering is in the endless possibilities it offers. As you explore these tips, don’t be afraid to experiment—mix colors, test new opacities, and try out different layering exercises to develop your unique style. Layering is not just a technique; it’s a creative journey that will deepen your understanding of color and enhance your skills.