Effortless Watercolor Gradients: A Beginner’s Guide
Watercolor painting has a unique charm—its fluidity, translucence, and the way colors seem to dance across the paper. One of the most captivating techniques in watercolor is the gradient, those smooth transitions that bring depth to skies, seas, and soft backgrounds. Gradients might look like a pro-only skill, but with the right approach, even a beginner can achieve that dreamy, flowing effect.
Creating a good gradient can feel tricky at first, especially with watercolor’s natural unpredictability. The water has a mind of its own, and sometimes, what starts as a smooth wash can turn into a patchy surprise. But the good news? With a few simple techniques and a little patience, you’ll find that beautiful gradients are well within your reach.
In this guide, we’ll walk through beginner-friendly steps to master watercolor gradients without the stress. Whether you’re aiming for a single color fade or a blend of two hues, these tips are here to make your watercolor journey smoother and more enjoyable.
Understanding Watercolor Basics
Before we dive into techniques, it’s helpful to get a feel for what makes watercolor unique. Watercolor’s beauty comes from its lightness and transparency, where colors can layer and flow together in ways other paints simply can’t replicate. These qualities make it perfect for creating soft, seamless gradients—but they also mean we need to understand a few basics to get the best results.
What is Watercolor Paint?
- A Transparent Medium: Unlike acrylics or oils, watercolor is translucent, allowing light to pass through each layer of paint, which creates a glowing effect on paper.
- Fluid and Responsive: Watercolor has a mind of its own, moving easily with water and adapting to the surface beneath. This can be challenging, but it’s what gives watercolor its characteristic softness.
- Easy to Layer and Blend: Because it’s so light, watercolor can be layered to create depth without becoming muddy, making it ideal for soft, flowing transitions.
Why Are Gradients Important?
- Adds Depth and Dimension: Gradients create the illusion of depth by transitioning from dark to light or one color to another, making a flat painting feel more three-dimensional.
- Softens Your Artwork: Gradients help blend elements together without harsh lines, which can make compositions feel more cohesive and less rigid.
- Common in Nature: Think of a sunset, the sky at dawn, or the gradual fade of color in a flower petal. Gradients mimic these natural transitions, giving your artwork a sense of calm and realism.
Where Are Gradients Used?
- Skies: From light to dark, gradients help capture the subtle changes in light across the sky.
- Water: Oceans, rivers, and lakes often have beautiful gradient effects, transitioning from deeper tones to lighter reflections.
- Backgrounds: Gradients provide a soft backdrop for the main subject, making it stand out without harsh contrasts.
Understanding these basics will give you a solid foundation as we explore ways to achieve effortless watercolor gradients in the next sections. With a little practice, you’ll be ready to harness watercolor’s natural fluidity to make smooth, stunning transitions in your work.
Essential Tools and Materials
To achieve those effortless watercolor gradients, having the right tools on hand can make all the difference. While watercolor may seem simple—just water, paint, and paper—each element affects how colors flow and blend, especially for smooth gradients. Here’s a breakdown of what you’ll need to get started:
Watercolor Paints
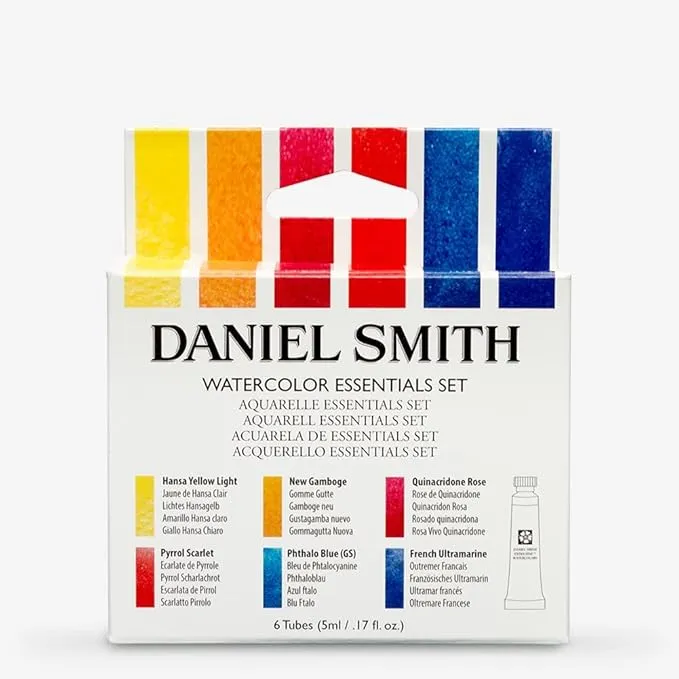
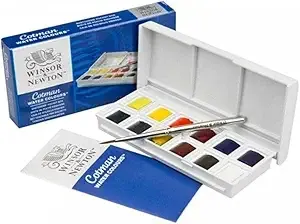
- Types of Paints: Watercolor paints come in two main forms: tubes and pans. Tubes offer a richer color saturation and are great for creating bold gradients, but they can be messier to control. Pans, on the other hand, are compact, easier to transport, and allow for more controlled washes, making them a favorite for beginners.
- Choosing Colors: As a beginner, consider starting with a basic palette of 8–12 colors. These will give you enough range to experiment with blending and creating gradients without feeling overwhelming.
Brushes
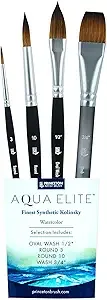
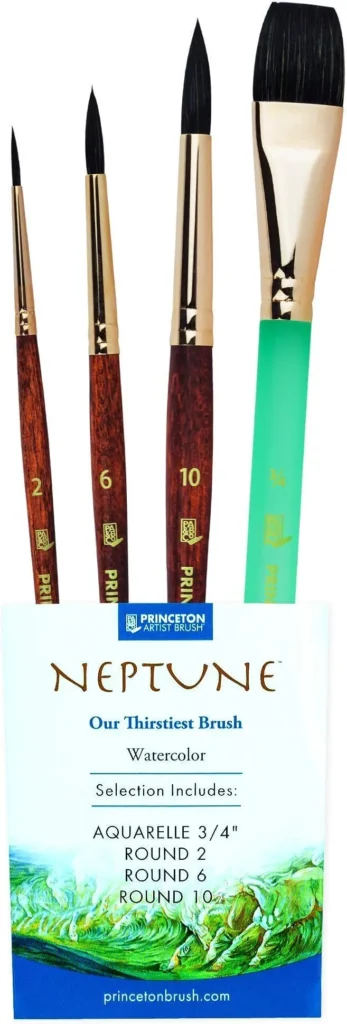
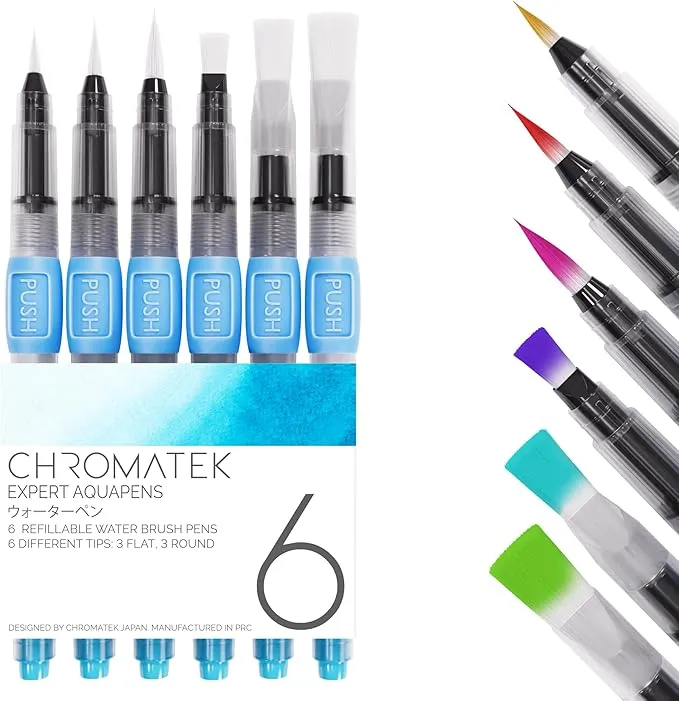
- Flat Brushes: Flat brushes are perfect for covering large areas and creating smooth, even washes—ideal for gradients across skies, water, or backgrounds. They help maintain an even flow of water, which is essential for gradients without streaks.
- Round Brushes: Round brushes offer more versatility, allowing you to create soft edges and blend smaller areas with ease. They’re great for adding details to your gradients or blending colors in tighter spaces.
- Brush Quality: Synthetic brushes work well for beginners, as they’re durable and affordable. Look for brushes with good water-holding capacity to make smooth gradients easier.
Paper
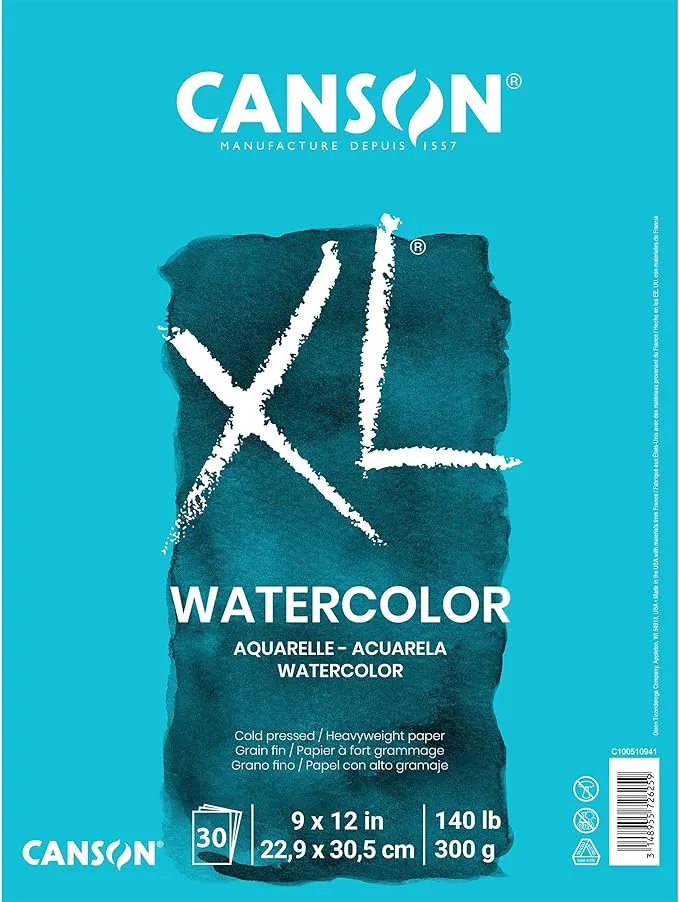
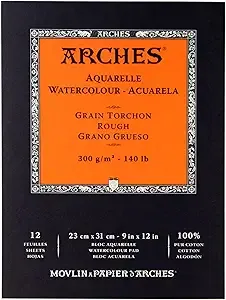
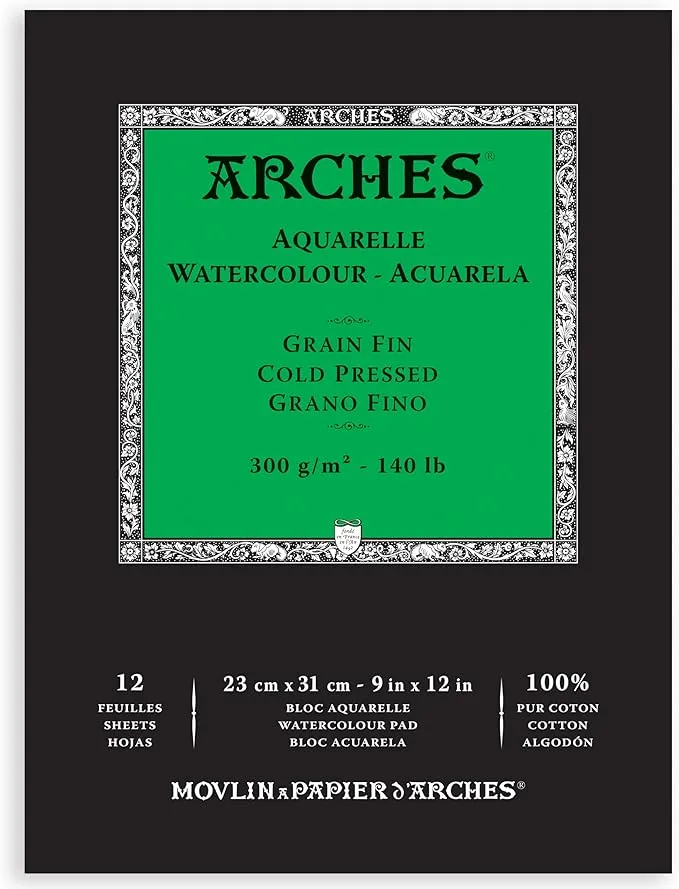
- Paper Type: Quality watercolor paper is key to achieving smooth gradients. Cold-pressed paper is a great option for beginners—it has a slightly textured surface that absorbs water well, allowing colors to spread naturally.
- Paper Weight: Watercolor paper is measured in pounds; for gradient work, 140 lb (300g) paper is ideal. It can handle wet washes without buckling, giving you a stable surface for blending colors smoothly.
- Avoid Regular Paper: Regular or sketch paper won’t absorb water properly and can lead to uneven gradients and wrinkling, so investing in the right paper from the start is worth it.
Water and Mixing Palette
- Clean Water: Clean water is essential for bright, even gradients. Change your water frequently to avoid muddy colors, especially when moving between different colors.
- Mixing Palette: A mixing palette is where you can dilute and combine colors before applying them to paper. For gradients, try mixing a few levels of color intensity on your palette so you can easily transition from darker to lighter tones without constant back-and-forth mixing.
With these tools in hand, you’ll have a solid setup for practicing smooth and seamless gradients. Each tool helps control the water and pigment balance—key ingredients for achieving those effortless transitions in watercolor.
Basic Watercolor Gradient Techniques
With the right techniques, you can achieve those smooth watercolor gradients that give your paintings a soft, natural flow. Here are three beginner-friendly techniques to try, each with its own unique effects and ideal uses. Let’s break them down step-by-step so you can start creating beautiful gradients with ease.
Wet-on-Wet Technique
The wet-on-wet technique is perfect for creating soft, blurry gradients. By applying paint to wet paper, colors flow freely, resulting in smooth transitions and a dreamy, diffused look.
- Step-by-Step Guide:
- Wet the Paper: Using clean water and a wide brush, apply a thin, even layer of water to the area you want to work on. Make sure the paper is damp but not overly saturated to avoid puddling.
- Add the Paint: Load your brush with diluted paint and gently touch it to the wet area. The color will begin to spread and soften on its own. Add more paint where you want the gradient to be darkest, usually at the top or a chosen focal point.
- Gradually Lighten: To create the gradient, rinse your brush, then use clean water to gently pull the color downward or outward, allowing it to fade naturally.
- Tips for Controlling the Flow:
- Tilt your paper slightly to encourage the paint to flow in one direction.
- Adjust the amount of water on your brush to control how far the color spreads; less water means slower, more controlled gradients.
Wet-on-Dry Technique
For a more controlled gradient, the wet-on-dry technique is ideal. By applying paint on dry paper, you can create a gradual color shift with more defined edges.
- How to Achieve a Gradient:
- Start with Darker Paint: Load your brush with the paint at its most concentrated (darker) level and apply it at the area where you want the gradient to be the strongest.
- Dilute as You Move: As you move down or across the paper, rinse your brush slightly and add a bit of water to the paint, gradually lightening it as you go.
- Smooth Out the Edges: Use a clean, damp brush to gently smooth the edges, helping the gradient to blend naturally without harsh lines.
- Best Situations for Wet-on-Dry Gradients:
- This technique works well when you want a smoother, more controlled fade without excessive bleeding, such as in backgrounds or architectural details where you need defined transitions.
Blending Two Colors in a Gradient
Creating a gradient between two colors can be incredibly striking. This technique allows you to seamlessly transition from one hue to another without a noticeable dividing line.
- How to Transition Smoothly:
- Apply the First Color: Start with one color at the top or side of your paper. Use the wet-on-wet or wet-on-dry technique, depending on how soft you want the transition to be.
- Introduce the Second Color: While the first color is still wet, introduce the second color at the opposite end, allowing the two colors to meet in the middle.
- Blend in the Middle: Gently blend the colors together at the meeting point, using a clean brush to soften the transition and prevent harsh lines.
- Tips for Avoiding Harsh Lines:
- Work quickly while the colors are still wet to avoid hard edges.
- Experiment with slightly overlapping the two colors at the center and use a damp brush to help them merge naturally.
Each of these techniques adds a different dimension to your gradients, and with practice, you’ll get a feel for when to use each one. Experimenting with these methods is a great way to get comfortable with watercolor’s fluidity and create smooth, beautiful gradients in your art.
Practice Exercises for Gradients
Practice makes perfect, especially with watercolor gradients! Here are three beginner-friendly exercises to help you master different gradient styles. These exercises will help you get comfortable with color transitions and control, all while building a foundation for more complex watercolor techniques.
Exercise 1: Simple Gradient Wash
This exercise is about creating a single-color gradient, transitioning smoothly from dark to light. It’s a great way to practice controlling water and pigment levels.
- Steps:
- Load with Dark Paint: Start by loading your brush with a highly pigmented mix of your chosen color. Apply this at the top of your paper (or whichever area you want the darkest).
- Gradual Dilution: As you move down, rinse your brush slightly and add a bit of clean water to the paint. This dilutes the color and creates a lighter wash. Continue working down the paper, adding more water as you go.
- Smooth the Gradient: Use a clean, damp brush to gently blend the edges, ensuring a smooth transition from dark to light. This will help you practice getting an even wash without streaks.
- Tips:
- Work quickly so that the paint doesn’t dry before you’re done, as this can cause harsh lines.
- Tilt the paper if needed to help the color flow down smoothly.
Exercise 2: Two-Color Gradient
Blending two colors in a gradient is a beautiful way to add vibrancy and depth. Starting with complementary colors (like blue and yellow or red and orange) makes it easier to achieve a smooth transition.
- Steps:
- Apply the First Color: Choose your first color and apply it at the top of the paper, using a wet-on-wet or wet-on-dry technique depending on your preference. Focus on creating a smooth wash.
- Add the Second Color: While the first color is still wet, apply the second color at the bottom of the paper, allowing it to meet the first color in the middle.
- Blend in the Center: Where the two colors meet, use a clean, damp brush to gently blend the middle, helping them transition smoothly. The goal is to create a new color in the center by blending both pigments.
- Tips:
- Work quickly so the colors merge naturally; waiting too long can result in hard lines.
- For a softer look, choose colors that mix well (like yellow and blue to create green).
Exercise 3: Soft Edge vs. Hard Edge Gradients
Practicing both soft and hard edges in your gradients will give you more control over the texture and feel of your artwork. This exercise helps you learn how to control water and brush pressure to create both effects.
- Soft Edge Gradient:
- Wet the Area First: Apply a light wash of clean water to the area where you want a soft gradient.
- Add Color: Apply your color on one side, and let it spread naturally. Use a damp brush to soften and blend the color outward, creating a soft, feathered edge.
- Blend Gently: Use a clean brush to continue softening the color for a smooth transition.
- Hard Edge Gradient:
- Dry Surface Application: Apply paint on a completely dry paper surface, focusing on one area without adding water around it.
- Gradual Pull: Lightly pull the color outward without blending too far, leaving a more defined edge.
- Use Less Water: Less water on your brush will help you control the edge and keep it crisp.
- Tips:
- For soft edges, keep your brush damp but not too wet, to avoid puddling.
- For hard edges, use a slightly drier brush and less paint to maintain control over the boundary.
These exercises will build your confidence and skills in creating gradients, both smooth and defined. Practicing these variations will help you understand how water and pigment interact, setting you up to explore even more advanced watercolor techniques with ease.
Inspiration and Application in Art
Gradients open up a world of creativity in watercolor painting. Once you’re comfortable with the basics, they can be used to bring depth, mood, and movement to your art. Here are some popular subjects and project ideas to get you inspired, as well as ways to use gradients to enhance your finished compositions.
Popular Subjects for Gradient Practice
Gradients are everywhere in nature, which makes them perfect for creating realistic and captivating scenes. Here are a few simple project ideas to start practicing:
- Sunsets and Sunrises: The sky is a natural canvas for gradients, from rich oranges and reds to soft purples and blues. Experiment with transitioning colors to capture the fading or rising light.
- Ocean and Water Scenes: Oceans and lakes often show gradients of blue and green, fading from dark to light. This effect can mimic depth and create a sense of calm, ideal for coastal or seascape paintings.
- Abstract Backgrounds: Playing with gradients in abstract forms is a low-pressure way to practice. Try blending complementary colors, like blue and yellow, to see what new hues emerge.
- Misty Mountains: Layering soft gradients can create depth and a sense of distance, perfect for mountain scenes where layers fade into the background.
These subjects provide an excellent opportunity to practice gradient transitions while creating artwork that feels polished and complete.
Using Gradients in Finished Watercolor Artwork
Gradients aren’t just for backgrounds—they can add interest and dimension to your main subjects as well. Here are a few ways to incorporate gradients in your finished pieces:
- Creating Depth and Perspective: Gradients can be used to imply depth, making certain elements appear closer or farther away. For instance, using a gradient in a mountain scene can make distant peaks look soft and far off, while closer elements appear more defined.
- Highlighting a Focal Point: Gradients can draw attention to a specific area in your artwork. A subtle gradient leading to a light area can naturally guide the viewer’s eye to a focal point, adding emphasis without using harsh lines or contrasts.
- Adding Mood and Emotion: Gradients can evoke emotion, from the peaceful fade of pastel tones in a sunset to the moody contrast of a stormy sky. Experiment with color choices and transition styles to set the tone of your artwork.
- Dynamic Backgrounds: Even when the gradient is in the background, it can bring life and movement to a composition. For instance, a gradient wash behind floral or landscape elements can give the impression of atmospheric light, making the subject feel grounded and realistic.
With these ideas, you’ll start seeing endless possibilities for gradients in your work. Whether you’re adding depth to a scene or highlighting a specific element, gradients can make your paintings more dynamic, expressive, and visually compelling.
The willingness to experiment will make it easier
Watercolor gradients may seem tricky at first, but with regular practice and a willingness to experiment, you’ll find they become easier and more enjoyable to create. Each stroke you make builds your confidence and control, turning what once felt unpredictable into a skill you can rely on.
As you continue practicing these techniques, don’t be afraid to explore new subjects, try different colors, and push the boundaries of what gradients can add to your art. The more you experiment, the more effortless and natural your gradients will feel.
We’d love to see your progress! Share your gradient practices or finished pieces on social media or within your favorite art community—connecting with fellow artists is a wonderful way to inspire and be inspired.
