Quick Blending Techniques to Enhance Your Watercolors
Watercolor painting is a captivating art form that draws artists in with its fluidity and vibrant, translucent colors. Unlike other mediums, watercolor allows pigments to blend and flow in unique ways, creating dynamic, organic effects that feel almost alive on the page.
One of the most essential skills in watercolor is blending. Skillful blending brings depth, soft gradients, and realistic textures to a painting, transforming simple shapes and colors into lifelike compositions. Mastering this technique can elevate even the simplest paintings, giving them a professional, polished look.
In this article, we’ll dive into quick and effective blending techniques that can take your watercolor skills to the next level. Whether you’re a beginner or looking to refine your craft, these tips will help you create smooth transitions, add dimension, and make your artwork truly stand out.
Why Blending Matters in Watercolor Painting
Blending is one of the foundational skills in watercolor painting. When mastered, it allows artists to create smooth transitions, depth, and lively textures that give a painting that “wow” factor. Whether you’re painting soft skies, lush foliage, or vibrant backgrounds, blending techniques can bring your artwork to life in ways that feel effortless and professional.
How Blending Adds Depth, Realism, and Vibrancy
- Depth and Dimension: Blending allows you to layer colors seamlessly, building up from light washes to richer tones. This layering effect adds depth, making objects appear closer or farther away, creating a three-dimensional feel.
- Realism in Details: Gradual color shifts achieved through blending give objects a lifelike appearance. This is particularly helpful for realistic effects in natural scenes like landscapes, where gradual color changes mimic light, shadow, and distance.
- Vibrancy and Texture: Blending different hues can create new, vibrant shades that add personality and richness to your painting. With the right techniques, blended areas can be soft and atmospheric or bold and textured, adding variety and interest.
How Blending Achieves Professional Results
- Smooth Transitions: One hallmark of professional watercolor art is the smoothness of color transitions. Skillful blending allows even beginners to avoid harsh edges and achieve that “polished” look where colors flow into one another without any obvious borders.
- Correcting Mistakes and Enhancing Composition: With blending, it’s easier to adjust colors, soften areas, or even lift some paint to correct mistakes or refine details. This flexibility is valuable for beginners looking to improve without starting over.
Situations Where Blending Makes a Big Impact
- Skies and Backgrounds: When painting skies, blending techniques create the soft gradients that mimic dawn, dusk, or cloudy atmospheres. Smoothly blended backgrounds also help direct focus to the main subject of the painting.
- Foliage and Nature Scenes: Blending adds depth to trees, leaves, and grass by transitioning smoothly between greens, yellows, and other natural colors. This technique can make landscapes feel lush and layered, with a realistic play of light and shadow.
- Portraits and Still Life: In portraiture and still life, blending is key to capturing realistic skin tones, shadowed areas, and light reflections. This adds a subtlety and nuance that elevates simple compositions into expressive, lifelike images.
In watercolor, blending isn’t just about mixing colors – it’s about using color to create mood, movement, and depth, turning each painting into a vibrant scene or story.
Essential Tools and Preparations
Before diving into blending techniques, it’s essential to have the right tools and setup. With a few key materials and a well-prepared workspace, you’ll find it easier to achieve those smooth, seamless blends that bring watercolors to life.
Basic Materials for Effective Blending
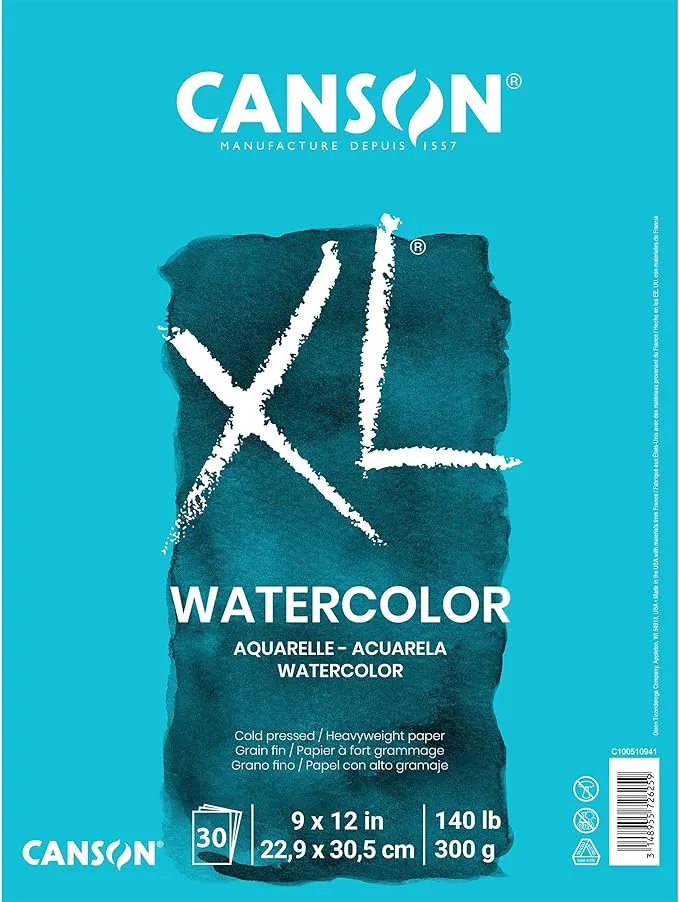
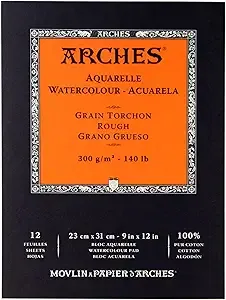
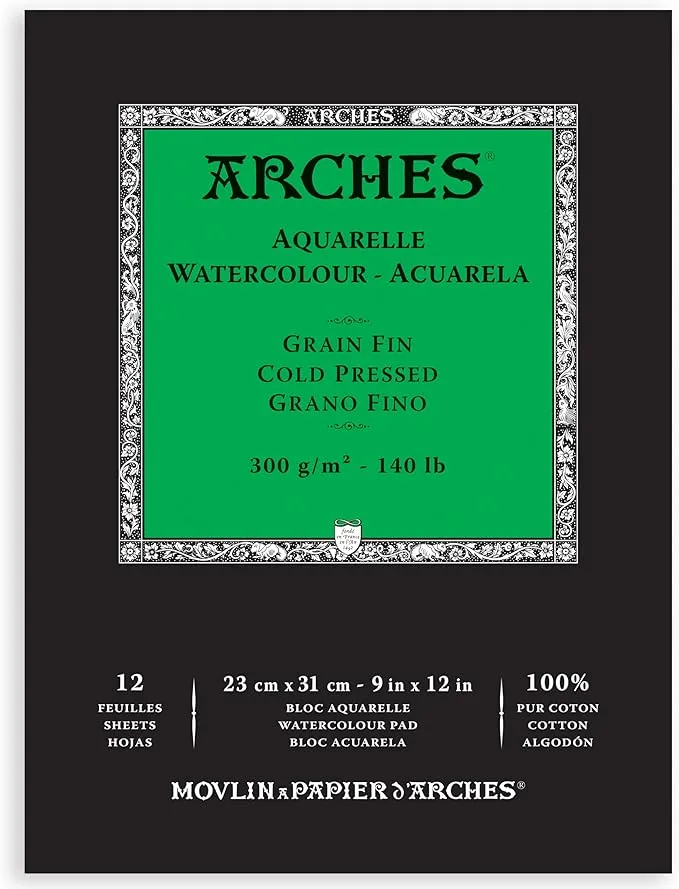
- High-Quality Paper: Watercolor paper is a must. Opt for at least 140 lb (300 gsm) paper, ideally made of 100% cotton. This weight and material allow the paper to absorb water well, preventing warping and enabling smoother blending.


- Soft Brushes: Round brushes and flat wash brushes are excellent for blending. Look for soft, absorbent brushes that hold plenty of water, which helps in creating smooth gradients without hard edges.
- Clean Water and Mixing Palette: Blending in watercolor depends heavily on water, so keep a jar of clean water nearby. A palette with ample space also allows you to mix and adjust colors easily.
The Importance of a Clean Workspace
- Clarity in Colors: A tidy workspace helps you keep track of colors and water purity, reducing the chance of muddy or unexpected colors. Clean water and a wipe-down palette are especially important when blending, as any residue can affect color clarity.
- Ease of Blending: Having everything you need in easy reach—brushes, water, paper towels—makes the blending process smoother. A clutter-free space helps you focus on your painting, which is key when you’re working with water-sensitive techniques.
Choosing the Right Brushes and Paper for Blending
- Brushes for Blending: Soft, round brushes are versatile for blending, as they allow for both broad strokes and finer details. Flat wash brushes are great for large areas, such as skies and backgrounds, where a smooth blend is crucial. Consider a mop brush for very soft, gradual blending.
- Paper Texture: Cold-pressed paper (with a slight texture) is often a go-to for blending because it balances texture with smoothness, making it easier to control paint flow. For even smoother results, hot-pressed paper is ideal, though it requires a gentler touch to avoid over-saturating.
With the right materials and a bit of organization, you’ll find it much easier to master blending techniques and bring out the best in your watercolor paintings.
Quick Blending Techniques for Watercolors
Blending techniques can elevate your watercolor paintings, adding depth, softness, and realism. Here are some quick and effective methods to master, each tailored for different effects in your artwork.
Wet-on-Wet Blending
The wet-on-wet technique is perfect for creating soft, flowing transitions in your painting. Here’s how to use it:
- How It Works: Start by wetting the area of your paper where you want the colors to blend, then apply wet paint to this area. As the paint spreads, it naturally flows and blends, creating smooth gradients.
- Tips for Control: Adjust the amount of water on your brush and on the paper. More water results in lighter, more diffuse blends, while less water keeps the color concentrated. Experiment with the pigment-to-water ratio for varied effects.
- Best Applications: This technique is ideal for painting skies, water reflections, or any background where you want soft, seamless transitions. Wet-on-wet blending is especially useful for capturing the changing colors of dawn, dusk, or misty landscapes.
Dry Brushing for Subtle Blends
Dry brushing adds subtle, soft edges without hard lines, creating gentle texture and detail.
- How It Works: Use a dry brush with just a hint of paint and drag it lightly across the dry paper. This technique creates a delicate, feathery effect, adding texture without a full wash.
- When to Use: Dry brushing is great for adding distant foliage, clouds, or soft shadows. It’s perfect for areas where you want texture but need to keep it subtle and not too saturated.
- Additional Tip: Experiment with the pressure and amount of paint on your brush. A little goes a long way with this technique, especially when painting soft, background details.
Layering and Glazing for Depth
Layering, or glazing, involves applying multiple light washes over dry paint to build up color, depth, and vibrancy.
- How It Works: Start with a light wash of color and let it dry completely. Then, layer another wash on top, adjusting the intensity as needed. Each layer adds depth without disturbing the underlying colors.
- Why It’s Effective: Layering lets you create smooth gradients and richer colors. By carefully building up layers, you can achieve nuanced shadows, highlights, and vibrant, multi-dimensional effects.
- Tips for Success: Always let each layer dry fully before applying the next. This prevents colors from mixing and turning muddy, which is essential for maintaining clean, bright colors. Use this technique for objects that need depth, like shaded areas, fabric folds, or multi-tonal flowers.
Lifting Paint for Controlled Blending
The lifting technique allows you to lighten or soften areas by removing paint, giving you more control over blending.
- How It Works: Use a damp (not soaking) brush or a paper towel to gently lift wet paint off the paper. You can use this method to lighten specific areas or to create a softer transition between colors.
- Best Uses: Lifting is great for adding highlights, creating a foggy effect, or correcting mistakes. It’s also helpful for softening harsh edges that might have dried too sharply.
- Tips for Lifting: If the paint has dried, you can still lift some of the pigment by re-wetting the area and gently blotting with a paper towel. However, this works best on high-quality paper that can handle a bit of reworking.
Feathering Technique for Soft Edges
Feathering helps create soft, seamless edges, especially useful for painting natural elements like petals or animal fur.
- How It Works: Apply a stroke of color on the paper, then rinse your brush and, with just water, gently pull the edges of the stroke outward. This “feathers” the paint, softening the edge and blending it with the surrounding area.
- Step-by-Step: After applying the paint, work from the edge of the stroke with a clean, damp brush. Pull gently outward, blending the color into the paper as you go.
- Examples of Use: Feathering is fantastic for petal edges, animal fur, and other areas where you want a soft transition without distinct lines. It allows for a more natural flow between colors and adds subtle detail.
Mastering these blending techniques will give you a versatile toolkit to create smooth transitions, depth, and texture in your watercolor paintings. Each method has unique applications, so try them out and see how they can transform your artwork!
Bring Your Watercolors to Life Through Blending
Mastering blending techniques is a key step in taking your watercolor skills to the next level. These methods not only add depth, vibrancy, and realism to your work but also give you greater control over your creative expression. With each blend, you can transform simple washes into captivating gradients, lifelike shadows, or ethereal highlights that make your paintings truly stand out.
Remember, practice is essential. Experiment with different techniques, find your preferred tools, and don’t be afraid to develop a blending style that’s uniquely yours. Watercolor is a flexible, forgiving medium—embrace the flow and discover how blending can bring your vision to life.
So keep exploring, keep blending, and watch as your watercolor skills grow. With each stroke, you’re one step closer to creating artwork that feels as vibrant and dynamic as the world around you.
