The Blotchy Problem: Fixing Uneven Washes in Watercolor Painting
If you’ve ever dabbled in watercolor, you know that it’s one of the most enchanting mediums out there. The delicate, translucent layers and soft, flowing washes create a unique look that’s almost impossible to achieve with other types of paint. But, as with any art form, watercolor comes with its own set of challenges—especially when it comes to getting those smooth, even washes. And let’s be real, nothing disrupts that dreamlike, flowing effect more than a wash that ends up looking blotchy and uneven.
Welcome to what artists lovingly (or maybe not so lovingly) call “the blotchy problem.” Maybe you’ve had it happen—a wash that dries with strange, splotchy patches, leaving your once-promising sky, ocean, or background looking less like a masterpiece and more like a mess.
Mastering an even wash is one of those skills that, once you have it down, transforms your work from “learning the ropes” to looking polished and professional. So in this article, we’re diving into the ins and outs of the blotchy problem—why it happens, how to prevent it, and, yes, even how to fix it when things go awry. By the end, you’ll be armed with all the tips and techniques you need to create those dreamy, smooth washes that make watercolor painting so magical. Let’s get started!
Understanding the Blotchy Problem: What Causes Uneven Washes?
While watercolor’s transparency and fluidity are part of its charm, these very qualities can also make it challenging to control. From the texture of your paper to the air in the room, many factors can affect how your wash dries. Let’s break down the main culprits behind uneven washes and what you can do to keep them at bay.
Surface Texture Issues:
The type of paper you use has a big impact on how your washes turn out. Rougher textures can cause more uneven absorption, leading to blotchiness.
Cold-press paper (with a medium texture) and hot-press paper (smooth) allow for more controlled washes. Cold-press is popular for its balance, but hot-press can give you ultra-smooth finishes.
High-quality watercolor paper, specifically made for watercolor techniques, is essential to ensure smooth pigment flow and even drying.
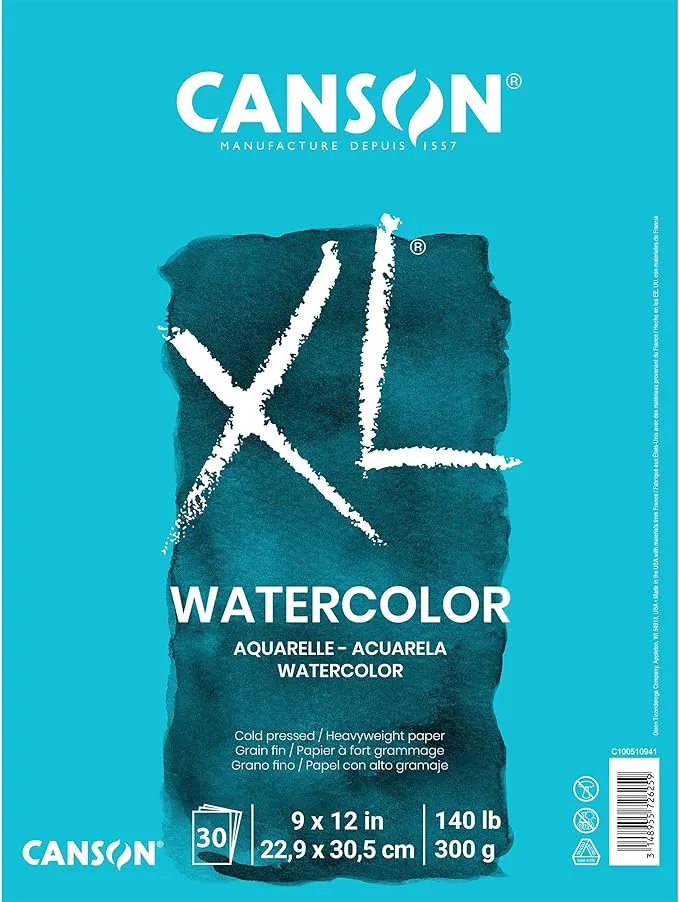
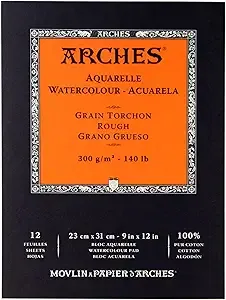
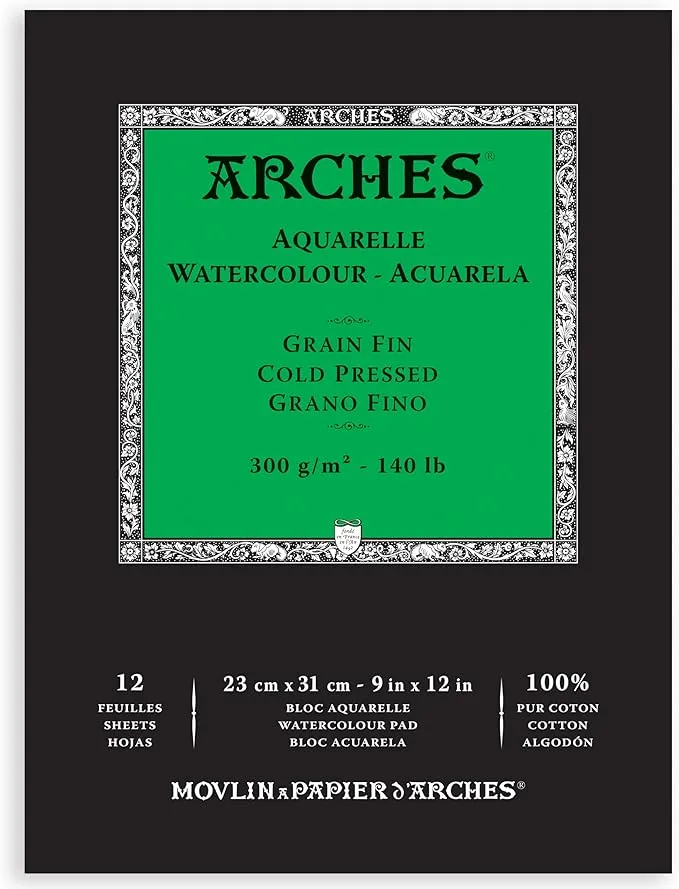
For practice, I recommend Canson XL and for better works Arche’s are a good option also.
Water and Pigment Ratios:
The balance between water and pigment is crucial. Too much water dilutes the pigment, causing patches, while too little water can make the wash appear uneven and dry in streaks.
Try to maintain consistent ratios for an even wash. Test on scrap paper to see how your mix will behave before you apply it to your artwork.
A tip for beginners: start with a lighter wash, then build up layers if needed. It’s easier to add more pigment than to correct an over-saturated wash!
Environmental Factors:
Temperature, humidity, and airflow can all alter drying times, affecting how even your wash appears. A hot, dry room may cause the paint to dry too quickly, creating harsh lines, while high humidity can prolong drying, which may cause pooling.
If possible, paint in a stable environment with moderate humidity, and avoid direct airflow on your painting, like from fans or open windows.
Brush Technique and Pressure:
The type of brush, your brushstroke direction, and the amount of pressure you use all play a role. Pressing too hard or moving the brush in multiple directions can disrupt the wash and lead to patchy areas.
For smooth washes, use a soft brush with good water retention (like a mop or flat brush) and keep strokes consistent. Light, gentle strokes allow the wash to settle evenly on the paper.
By understanding and controlling these elements, you can begin to tame the unpredictability of watercolor washes and keep those blotchy spots at bay.
Techniques to Achieve Smooth Washes in Watercolor
Mastering smooth washes in watercolor requires not only the right materials but also some practiced techniques. Whether you’re aiming for a soft, graded sky or a bold, flat background, understanding how to control water and pigment on your paper is essential. Here are some techniques to help you achieve those seamless, professional-looking washes.
Pre-Wetting the Paper (Wet-on-Wet Technique):
Pre-wetting the paper allows the paint to flow freely and blend smoothly, which helps prevent harsh edges and promotes even color distribution.
Step-by-Step Guide:
- Use a clean, wide brush or a sponge to apply a thin, even layer of water across the area you’ll be painting.
- Wait a few seconds for the water to settle, avoiding any puddling; blot excess moisture if needed with a dry brush or paper towel.
- Load your brush with pigment and apply it to the pre-wetted area. The paint should flow evenly, creating a smooth wash.
Tips:
- Watch the moisture levels; too much water can lead to puddling and uneven drying, while too little won’t allow the paint to flow. Aim for a glossy but not soaked surface.
- Practice on a small section to get a feel for how the water and pigment will interact on your paper.
Graded Washes and Flat Washes:
Flat Wash: This technique involves applying a uniform layer of color across an area, perfect for backgrounds or large sections where a consistent color is desired.
- Step-by-Step for Flat Wash:
- Load your brush with a generous amount of pigment and water.
- Starting at the top, lay down a horizontal stroke across the paper, maintaining consistent pressure.
- Reload the brush as needed, overlapping each stroke slightly to avoid lines or gaps, until the area is filled.
Graded Wash: Ideal for creating gradients, such as a sky or soft transitions, where the color gradually changes from light to dark.
- Step-by-Step for Graded Wash:
- Begin with a fully loaded brush and start with a bold, wet stroke at the top.
- Dip your brush in water (without reloading pigment) and paint the next row, slightly overlapping the first. Continue this process, diluting each subsequent stroke with more water.
- The wash will gradually lighten as you move down the paper, creating a smooth gradient.
When to Use Each: Flat washes are ideal for even backgrounds, while graded washes are perfect for transitions, like skies or water, where you want a gradual color shift.
Using a Spray Bottle or Mister:
A spray bottle or mister can keep edges wet while you work, helping to prevent blotchiness and harsh lines.
- How to Use It:
- Lightly mist the paper’s surface before starting your wash, especially around the edges, to help the paint flow smoothly.
- If you’re working on a larger piece, occasionally mist the edges as you go to keep the wash from drying unevenly.
- Tips on Misting:
- Aim to create a fine mist without large droplets, which could cause unwanted marks.
- Hold the bottle at a distance to avoid too much water hitting any single spot, as this can create puddling and uneven patches.
By practicing these techniques, you’ll gain better control over your washes, enabling you to achieve the soft, even transitions that give watercolor its signature look.
Common Mistakes and How to Avoid Them
Creating smooth washes in watercolor can be tricky, and even experienced artists encounter challenges that lead to blotchiness or uneven results. Here are some common mistakes that can disrupt a wash—and how to avoid them to keep your artwork looking clean and polished.
Overworking the Wash:
Overworking happens when you go back over a wet wash repeatedly, trying to “fix” it. This often results in blotchiness and unwanted texture, as the paper may begin to wear or absorb unevenly.
- How to Avoid It: Aim to apply each wash with as few strokes as possible. Let the paint do its work, and resist the urge to go back over it while it’s still wet. If a section doesn’t look right, wait for it to dry before considering a second layer.
Not Allowing Layers to Dry:
Applying a new layer over a partially dry wash can lift pigment from the previous layer, creating streaks and uneven patches.
- How to Avoid It: Patience is key with watercolor. Allow each layer to dry completely before adding more paint. Use a hairdryer on a low setting if you need to speed up drying, but avoid high heat, which can warp the paper.
Uneven Pigment Mixing:
Inconsistent pigment mixing can cause streaks and spots, especially in larger washes where any inconsistencies are more visible.
- How to Avoid It: Thoroughly mix your pigment and water before applying it to your paper. To check consistency, test a small amount on a scrap piece of paper. It should appear smooth and even without streaks or clumps.
Not Testing Techniques Before Starting:
Jumping into a wash without testing can lead to surprises, like unexpected textures, color intensities, or drying patterns.
- How to Avoid It: Take a few minutes to test your wash on scrap paper. This lets you confirm the color, water-to-pigment ratio, and technique before applying it to your artwork.
By keeping these common pitfalls in mind and practicing patience and control, you’ll be able to avoid blotchiness and keep your watercolor washes looking smooth and well-finished.
Fixing Blotchy Washes: Techniques to Correct and Cover Up
Even with the best techniques and tools, sometimes washes don’t come out as smooth as we’d like. Fortunately, there are ways to correct blotchy areas without starting over. Here are a few tried-and-true methods for fixing uneven washes and creating a polished, balanced look.
Lifting and Blotting:
Lifting involves using a clean, damp brush or a paper towel to gently remove excess pigment from areas that appear too dark or have unwanted streaks.
- How to Lift Color:
- Take a clean, slightly damp brush, and gently press it onto the blotchy area to lift the pigment. Wipe the brush clean and repeat as needed.
- Alternatively, use a paper towel or tissue to blot the area lightly, lifting excess moisture and pigment without overworking the wash.
Blending with a Damp Brush:
If the wash is still damp, a clean, damp brush can be used to soften harsh edges or blend out blotchy areas for a more even look.
- How to Blend:
- Lightly dampen a clean brush, then gently sweep it along the edges of the blotchy area, moving outward to blend it smoothly.
- Avoid pressing too hard, as this can disturb the paper’s surface or remove too much pigment. Use soft, light strokes to achieve a natural blend.
Adding Layers and Glazing:
If a wash has already dried blotchy, adding a thin, transparent layer of color—called a glaze—can help even out the tone and add depth.
- How to Use Glazing:
- Dilute your pigment with plenty of water to create a transparent wash. Apply it gently over the blotchy area, allowing it to settle into a smooth, thin layer.
- Allow each glaze to dry completely before adding another layer to build up the color and even out tones without disturbing the underlying layers.
- Glazing is ideal for correcting subtle imperfections and adding depth to your washes while maintaining a soft, natural look.
With these techniques, you can turn blotchy patches into smoother, harmonious washes, enhancing the overall look and feel of your watercolor piece. Practice and patience will help you develop a light touch and gain confidence in correcting any imperfections.
You can master this!
Achieving smooth, even washes in watercolor can feel challenging, but with the right understanding, tools, and techniques, you can master this essential skill. Armed with techniques like pre-wetting, graded washes, and even corrective measures like lifting and glazing, you’re now ready to tackle the blotchy problem head-on.
Remember, every wash you practice adds to your confidence and skill, so don’t shy away from experimenting. Each blotch, streak, and corrected mistake is part of the learning process that will ultimately elevate your work. Overcoming the blotchy problem is a valuable step toward greater control, expression, and creativity in your watercolor journey. Enjoy the process, keep practicing, and watch your watercolor skills flourish!