Watercolor for the Impatient Beginner: Start Learning with Quick Wins
So, you’ve decided to dive into watercolor. Great choice! Few things are as satisfying as watching colors flow and blend together on paper. But let’s be honest—watercolor can sometimes feel like a mysterious, even stubborn, medium. It has a mind of its own, and for beginners, that can feel a bit intimidating. If you’re an “impatient beginner” who wants to start seeing results sooner rather than later, this is for you.
This guide is all about “quick wins.” Think of it as a way to bypass some of the struggle and get straight to the rewarding part—the moment where your colors finally make something beautiful, even if it’s simple. The goal isn’t to skip learning altogether, but rather to set yourself up for confidence-building successes from the start. By focusing on small, achievable projects, you’ll be able to enjoy the magic of watercolor without the endless trial and error.
Ready to get your hands a little colorful? Let’s dive into some techniques and projects that will have you smiling at your work, not cringing at it. Here’s how to start strong in watercolor and actually enjoy the journey from day one.
Understanding the Basics (Without Overwhelming Detail)
When you’re just starting with watercolor, it’s easy to get overwhelmed by the endless array of materials. But here’s a secret: you don’t need a studio full of fancy supplies to start creating beautiful art! Let’s keep things simple with a few essentials that will set you up for success without a headache.
Choosing the Right Materials
Let’s break it down into three must-haves:
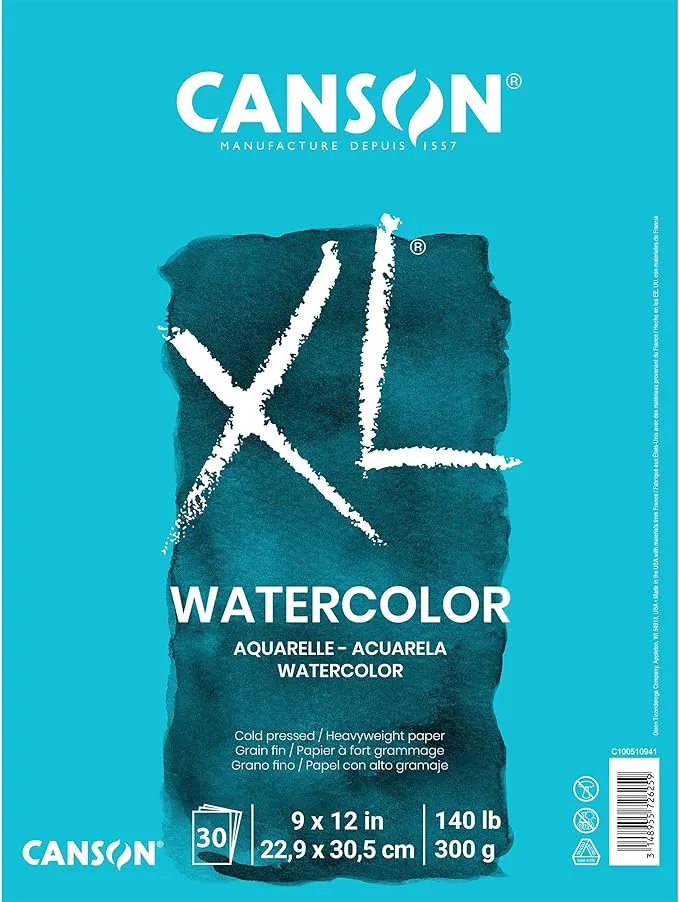
- Paper: Watercolor paper matters—a lot. Regular printer paper or sketchbook paper will buckle and tear under the weight of water. Look for watercolor paper that’s at least 140 lb (300 gsm); it’s thick enough to hold water and keep your colors vibrant. If you can, try cold-pressed paper—it has a slight texture, which adds character and makes blending colors more forgiving for beginners. If you want to dive deeper on this subject, I suggest: Understanding Watercolor Paper: How to Choose the Right Type for Your Art
- Brushes: You don’t need a massive brush set to start. Two or three brushes will do the trick. A round brush (size 6 or 8) is versatile and perfect for most beginner-friendly techniques. Add a smaller round brush (size 2 or 4) for detail work, and a flat brush for washes or larger strokes. Synthetic brushes are affordable, durable, and well-suited for beginners.
- Paints: Watercolor paints come in pans, tubes, and even liquids, but to keep it easy, start with pans or tubes. For colors, a basic set of eight colors (primary colors, a couple of greens, a brown, and black) will give you the flexibility to mix and create a wide palette. You can start with student-grade paints, which are affordable but still provide good color quality.
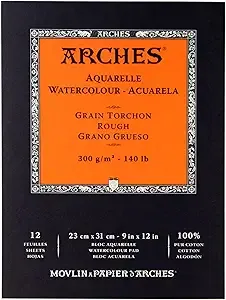
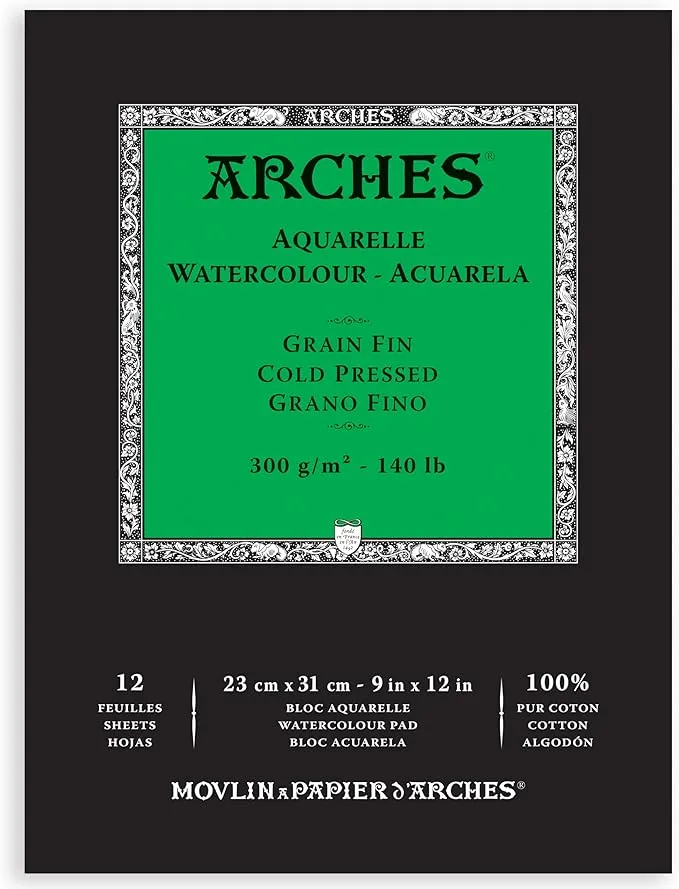
Minimal Supplies Approach
One of the joys of watercolor is that you can create beautiful art with just a few well-chosen supplies. A small, carefully selected setup actually frees you up to focus on painting rather than juggling tools. If you’re on a budget, don’t stress—just grab the basics above, a cup of water, and maybe a paper towel or two. You’re ready to paint!
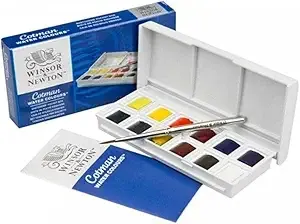
I love my Cotman basic set and still use it for practice, every day.
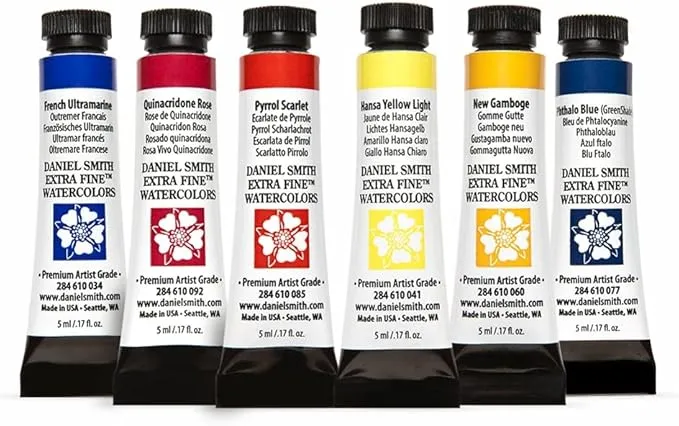
But if you want to invest a little more on a basic set of professional paints, you won’t go wrong with this:
With these few essentials, you’ll be all set to start exploring the world of watercolor without cluttering your workspace or draining your wallet. So, go easy on yourself and keep it minimal; sometimes, less really is more—especially in art!
But if you want to know more, check my Top 10 Must-Have Watercolor Supplies for Beginners post.
Foundational Techniques for Instant Success
When it comes to watercolor, a few simple techniques can lead to surprisingly beautiful effects—even for beginners. Here are three easy methods to get you feeling like a pro from the start.
Wet-on-Wet
This technique is your go-to for dreamy, flowing backgrounds and abstract textures. To try it, start by brushing clean water over the area you want to paint. Then, load your brush with a bit of paint and touch it to the wet paper. Watch as the color spreads, creating soft, unpredictable effects. You can add more colors to the same area to blend them smoothly. Tip: Start with light colors and gradually add darker tones to keep things looking fresh and vibrant.
Wet-on-Dry
If you prefer more control over where your colors go, the wet-on-dry technique is a game-changer. Paint directly onto dry paper, which will give you crisp, well-defined edges. This is perfect for creating details or working with specific shapes. Try this: Paint a simple shape, like a leaf or a wave, and notice how easy it is to control the color with this technique. Wet-on-dry gives you that satisfying sense of structure and is ideal for building your confidence with precision.
Color Blending and Gradients
Gradients are a beautiful way to add depth to your work, and they’re much easier than they look. Start by painting a stripe of color at the top of your paper, then rinse your brush lightly and use it to pull the color downward. Each pass with the brush will lighten the color, creating a smooth transition from intense to soft. You can also try blending two colors this way by starting with one color at the top, then switching to a second color halfway down. Tip: Let your brush and water do most of the work here—avoid over-brushing, as that can muddy the colors.
Quick Projects to Gain Confidence
As a beginner, diving into finished pieces may seem daunting, but some simple projects are not only doable—they’re fun and incredibly rewarding. Here are three quick and confidence-boosting projects to get you started on the right note.
Abstract Patterns
Abstracts are a perfect place to start because they’re all about letting go and enjoying the process. With abstract patterns, there’s no “wrong” way to paint; it’s about exploring colors, shapes, and textures in a stress-free way. Try creating patterns like dots, stripes, or swirls, or play around with wet-on-wet techniques for spontaneous color blends. Tip: Experiment with a few colors you love and see how they mix and layer. This project lets you explore without overthinking, and it’ll build confidence by allowing you to see beautiful results right away.
Simple Landscapes
Landscapes may look advanced, but they’re surprisingly beginner-friendly with a few tricks! Start with a simple scene—a sky fading into a mountain or field, for instance. Begin with a light wash for the sky (a wet-on-wet blend of blue and purple looks beautiful), then let it dry. Next, paint a basic horizon line with a darker color to indicate mountains or fields, using the wet-on-dry technique for a more defined edge. Try this: Add a simple tree or a field line to give it depth. These landscapes are easy to paint but feel satisfying and complete, and each one will look unique.
Easy Florals
Loose florals are a watercolor favorite because they’re both simple and beautiful. Start by practicing basic petal shapes with a round brush, allowing the brush to create organic shapes by varying pressure. Flowers like poppies, daisies, or even abstract roses are great for beginners, as they don’t require precision. Tip: Use a mix of wet-on-wet for the petals to create soft, blended edges, and a wet-on-dry technique for a few sharper details in the center or around the edges. With a few simple brushstrokes, you’ll have a floral that’s satisfying to paint and lovely to look at.
These projects are designed to help you explore watercolor without worrying about perfection. The goal is to create something pleasing and enjoyable, building your confidence and getting you comfortable with the medium. Try each one and watch as your skills (and enjoyment!) grow with every project.
Tips to Progress Faster Without Frustration
Learning watercolor doesn’t have to be a struggle. With a few smart strategies, you can make consistent progress and enjoy the process every step of the way. Here are some simple but effective tips to keep your journey fun, steady, and frustration-free.
Focus on Consistency Over Perfection
In watercolor (and art in general), consistency is your best friend. Try setting aside just a few minutes each day or a few times a week to paint something small. This could be a simple wash, a single flower, or a tiny abstract pattern. Small, frequent practice sessions help you build familiarity with your materials and techniques, which is key to progress. Plus, the more often you paint, the less intimidating it feels. Remember: It’s better to paint a little consistently than to aim for perfection in a single session.
Set a Time Limit
One of the best ways to keep painting from feeling overwhelming is to set a time limit—say, 15-20 minutes per session. This approach helps you focus on enjoying the process rather than getting caught up in details. Quick sessions also encourage you to work loosely and confidently, which is especially helpful for a medium like watercolor that thrives on spontaneity. Tip: Challenge yourself to create something in that short window without worrying about “finishing” it. It’s a great way to build both skill and confidence.
Celebrate Small Wins
Every time you try something new or see a bit of improvement, take a moment to recognize it. Small wins add up over time and make the learning process more enjoyable. Painted a wash that came out perfectly? Nailed a color blend? Managed to paint a simple flower that actually looks like a flower? These are all victories worth celebrating. Keep track of these small successes, even if it’s just snapping a photo of each piece you like. Pro tip: Over time, you’ll be amazed by how much progress you’ve made, and acknowledging these moments keeps the journey positive.
Following these tips helps you build momentum, making watercolor a fun and rewarding practice instead of a source of frustration. Remember, progress isn’t about perfect paintings—it’s about regular practice, experimenting without pressure, and finding joy in each small step forward. Happy painting!
Troubleshooting Common Beginner Issues
Even with simple techniques and a positive mindset, watercolor has its quirks. Here are a few common challenges beginners run into and some easy fixes to keep your paintings on track.
Controlling Water Levels
Water is the lifeblood of watercolor painting, but too much or too little can cause problems. If your paper is too wet, colors may spread uncontrollably, and if it’s too dry, your strokes can look harsh. Here’s a quick tip: after dipping your brush in water, lightly tap it on the side of your water cup or dab it gently on a paper towel to remove excess water. Start with less water and add more if needed—it’s easier to control this way. With practice, you’ll get a feel for the balance that works best for different techniques.
Understanding Paint Dry Times
One of the trickiest aspects of watercolor is knowing when to wait and when to keep painting. If the paint is still wet, adding a new color can cause unwanted blending. If that’s not what you’re going for, try this: lightly touch the back of your hand to the paper. If it feels cool, the paint is still damp; if it feels dry and room temperature, you’re good to go. You can also use a hairdryer on a low setting to speed up drying time if you’re eager to layer without waiting.
Avoiding Muddy Colors
“Muddy” colors are a common frustration, usually caused by over-mixing or layering too many colors. To avoid this, stick to a limited palette for each painting (two to three colors work well) and focus on colors that blend harmoniously. Basic color theory can help here: colors opposite each other on the color wheel (like red and green) can mix to form muddy brown if overdone. Tip: When in doubt, rinse your brush and switch to a clean area of your palette to keep your colors fresh and vibrant.
I’ve explored more on this post: Avoiding Muddy Colors: How to Keep Your Watercolors Vibrant and Fresh
Conclusion
As you’ve seen, watercolor can be as rewarding as it is unpredictable. Remember, mastering watercolor isn’t about reaching perfection on your first try—far from it! It’s a journey of discovery, where each painting (yes, even the messy ones) teaches you something new. Keep going, keep experimenting, and allow yourself the freedom to grow at your own pace. With each brushstroke, you’re developing a skill that will only deepen and refine with time.
Now that you’ve got some foundational techniques under your belt, consider taking things a step further. Challenge yourself to try layering colors for added depth, experiment with larger paper for more ambitious projects, or work on more intricate designs as your confidence grows. The beauty of watercolor lies in its versatility; there’s always something new to explore.
And finally, don’t be shy—try out these techniques and celebrate your quick wins! Share your progress, whether it’s a beautiful blend, a crisp shape, or a vibrant wash, and let each small success remind you of how far you’ve come. So, grab your brushes, dive in, and enjoy the process.
